In this tutorial we are going to Explore and setup extra volume to EC2 instance
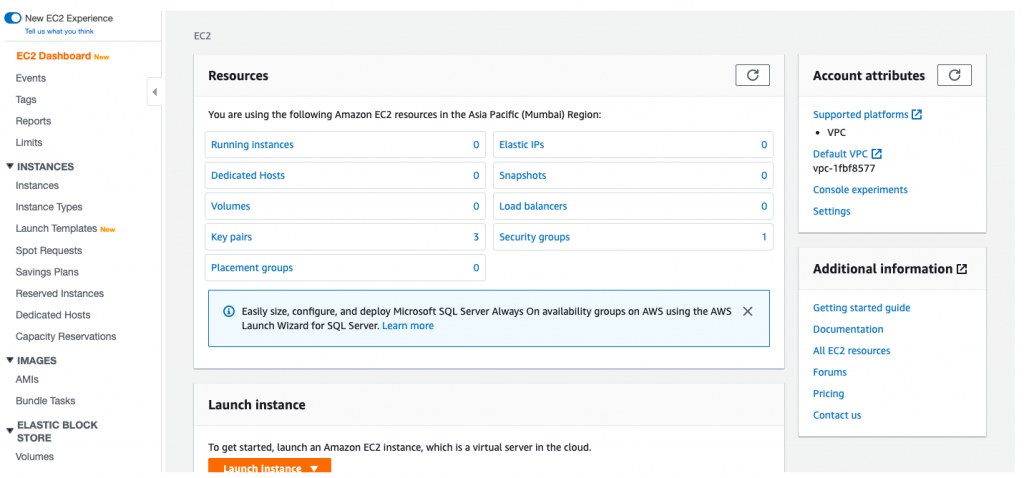
Step 1 – Login to AWS console, launch EC2 launch wizard page.

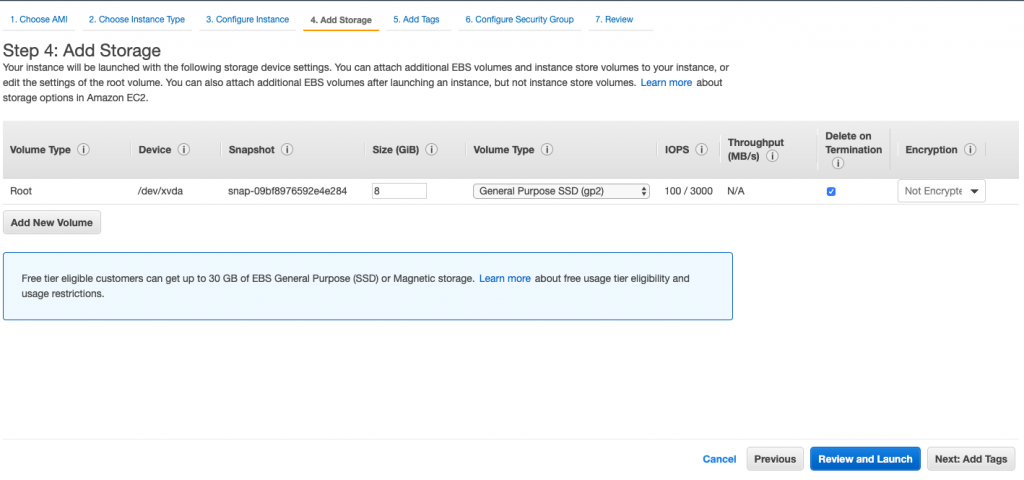
Step 2 – Launch and Ec2 instance – traverse to Storage selection block.
It will look something like this, and default view where an EC2 is having root volume only

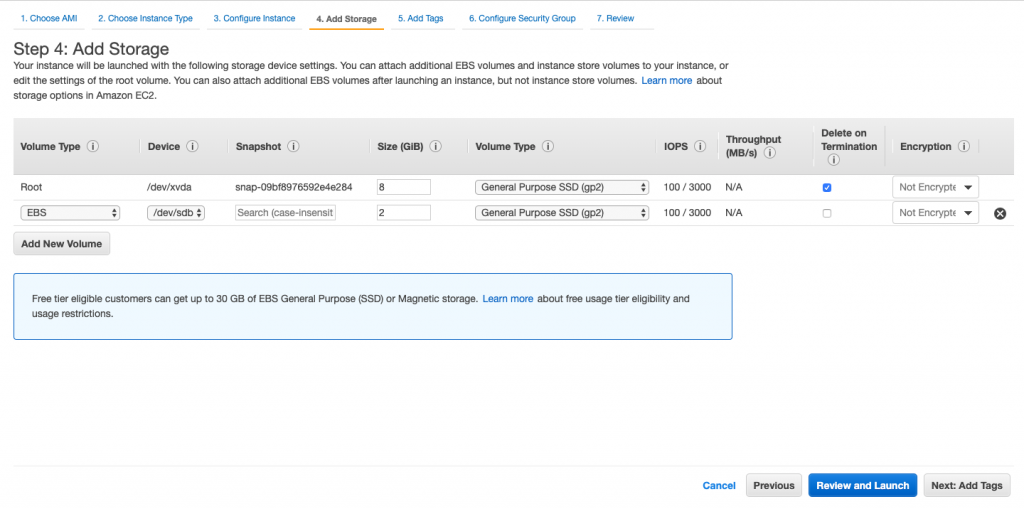
Now we will add another volume – click on add new volume button
Have added another EBS volume, of size 2gb and of type GP2. Termination protection is on – means it will be terminated if and when EC2 instance gets terminated.
Device column stores information about the path where we would be mounting the addition volume.
Snapshot column gives us option about taking base backup snapshot – new volume would be created from that . More on this in the upcoming EBS tutorials Stay Tuned

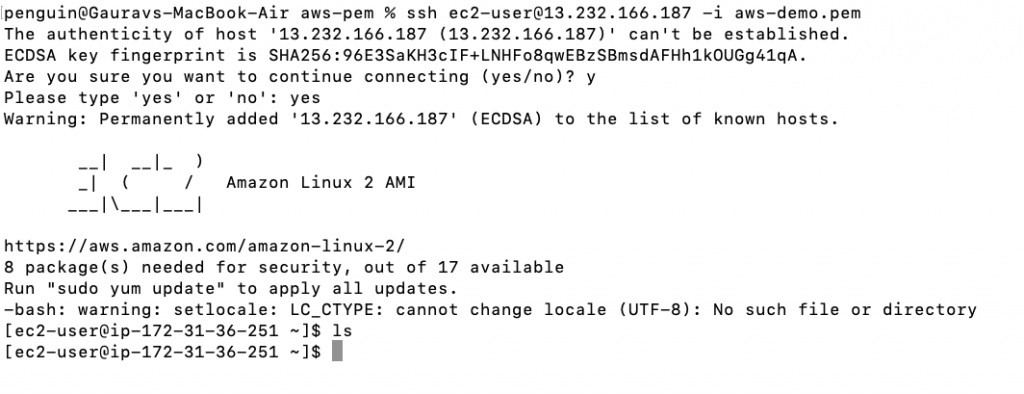
Launch the EC2 instance now, keep the key pair handy. SSH into the EC2 once its initialised.
Step 3 – Setting up the new addition volume in the EC2.
After SSH, you will have window like below, I’m using Mac Terminal for SSH. Windows we can use putty.

Lets list all the volumes attached to the EC2 instance
// this will return all the volumes attached
$ lsblk
We should get something like this, if not trying going back to EC2 details and see if you have missed anything in Step 2 above.

So it’s showing we have two volumes xvda and xvdb. Out of which xvda is mounted as root volume ‘/’ and the other one is not.
xvdb is the volume which we have selected additional volume.
Now we fill format the new volume with file system type and post the we would mount it. After which can be used.
Follow along with me.
// if this returns data means new added volume is not having file system
$ sudo file -f /dev/xvdb
For me it came data after executing above command, as we choose blank in snapshot column.
Let’s create a file system in the volume.
// this will create file system
$ sudo mkfs -t xfs /dev/xvdb
We will create mount point, to mount this volume.
$ sudo mkdir /newvolumeMount the volume to this mount point
$ sudo mount /dev/xvdb /newvolumeLet’s try to list attached volumes now – try lsblk command again.

If you see something like this – you are good to go.
Thank you for reading, Have a great day and and awesome year !!
MotoShare.in offers unparalleled convenience and affordability in bike rentals, allowing users to enjoy hassle-free rides for commuting, exploring, or leisure trips. With a wide range of bikes and scooters, it’s your trusted partner for all two-wheeler needs.

 Starting: 1st of Every Month
  +91 8409492687
  Contact@DevOpsSchool.com

