
 Starting: 1st of Every Month
  +91 8409492687
  Contact@DevOpsSchool.com
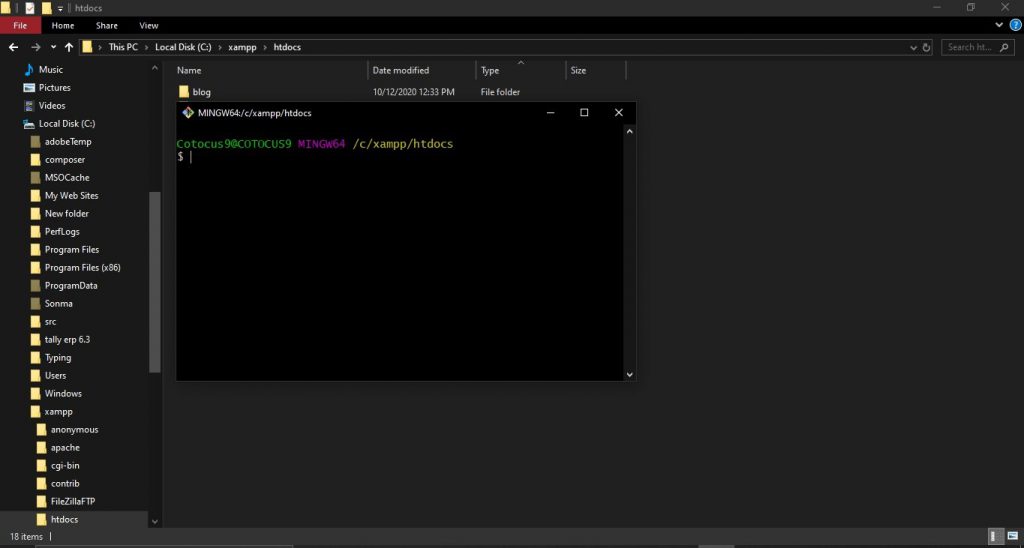
Step 1.Create a Laravel Project
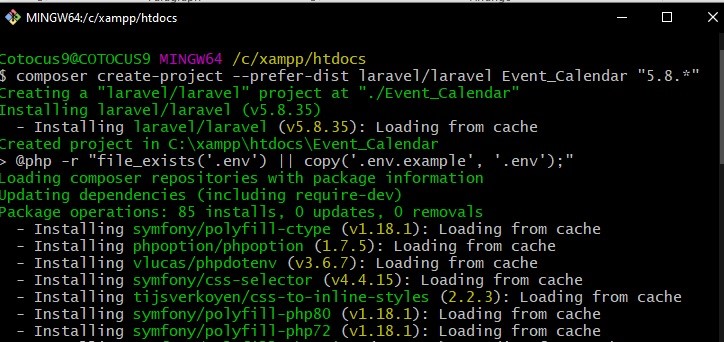
Firstly, Create a new project in laravel, so we open Git Bash, Go to My Computer/This PC–>LocalDisk(C:)–>Xampp–>Htdocs (Press right click on Mouse)
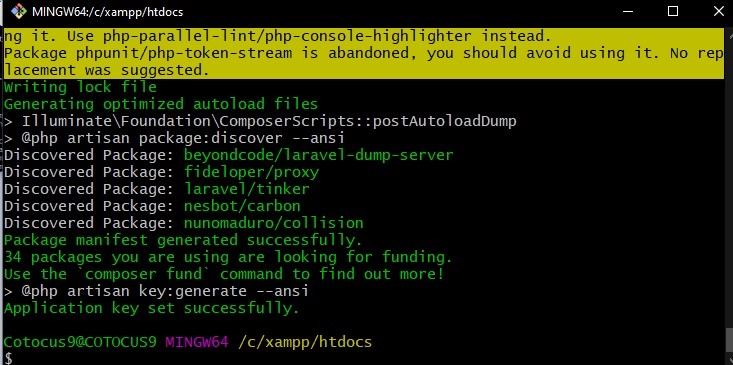
| $ composer create-project --prefer-dist laravel/laravel Event_Calendar "5.8.*" |
 by
by We write down the following command on Git Bash.
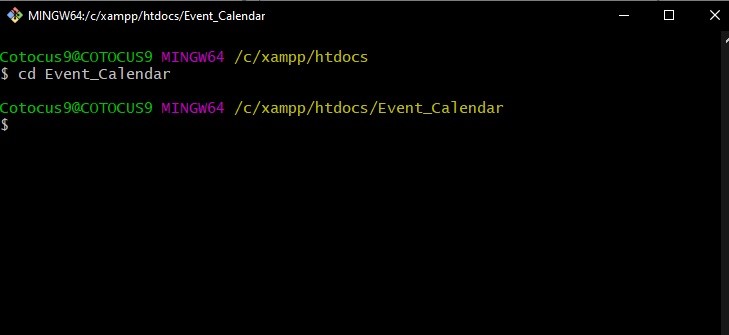
Step 2. Now we move to the project directory on Git Bash, so write down the following command –>
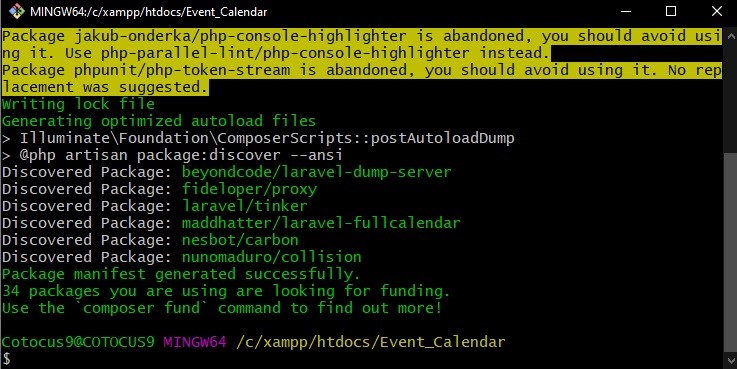
Step 3. Install Composer Package
In this step, we have to download and install the Laravel-full calendar package for use to generate Event Calendar. So just run the following command to download and install the package.
$ composer require maddhatter/laravel-fullcalendar
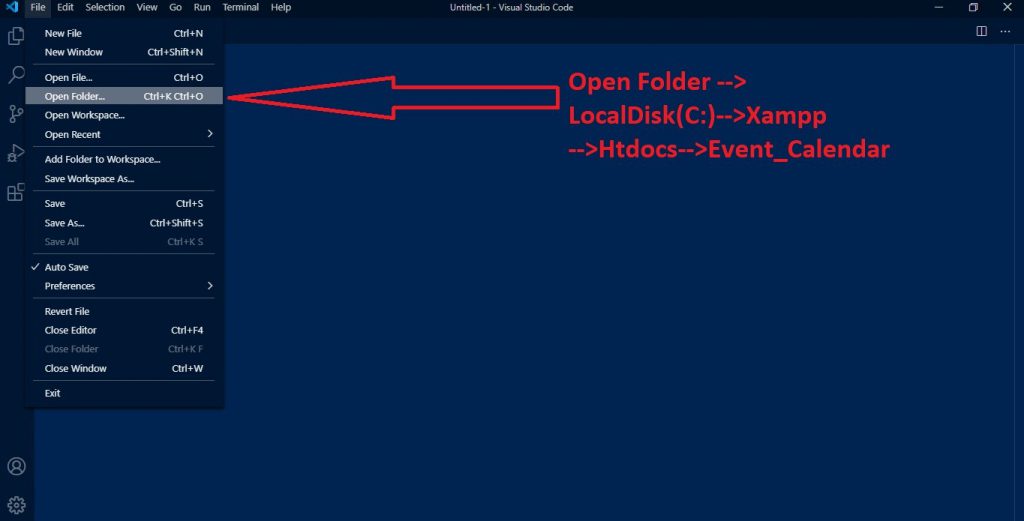
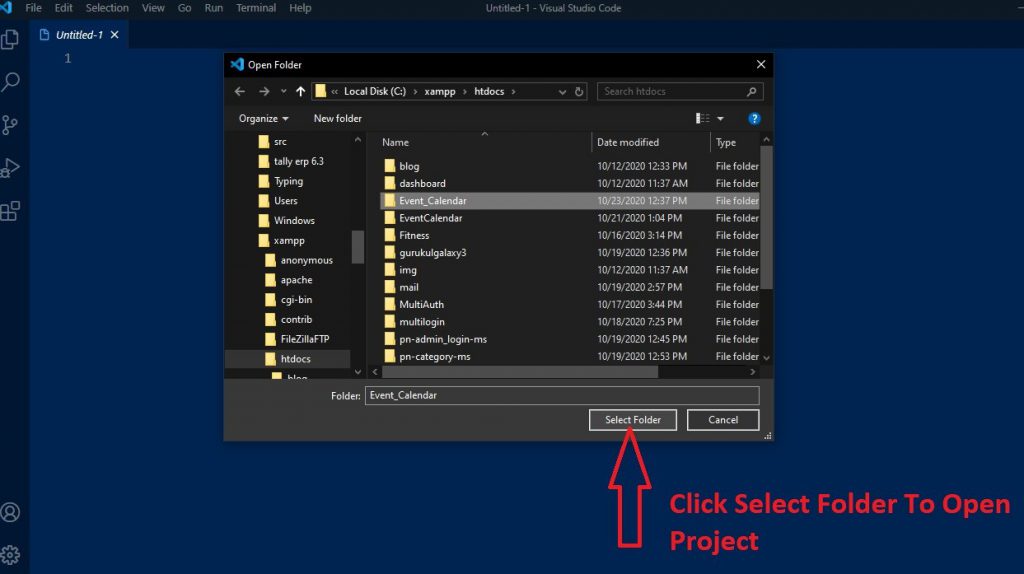
Step 4. Open Project in Visual Studio
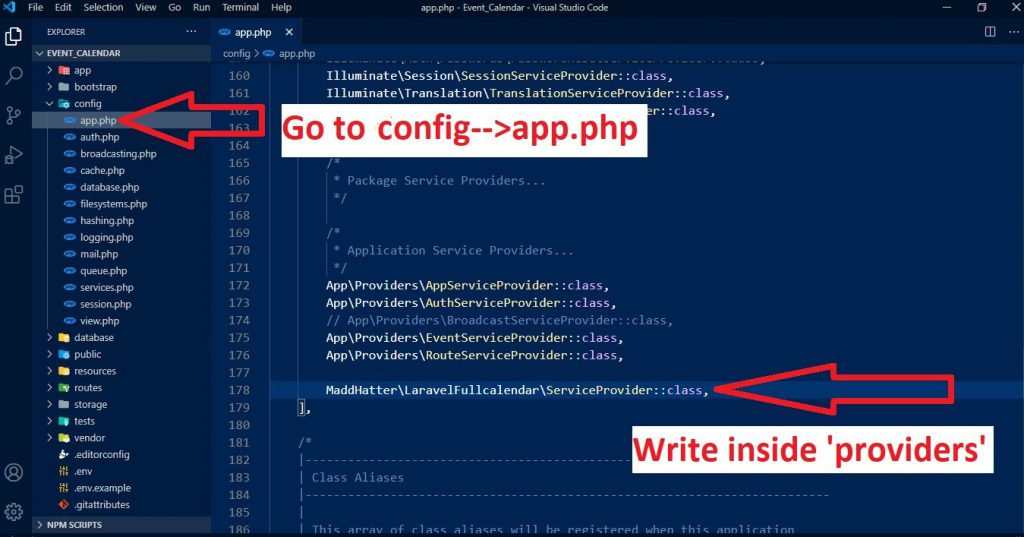
Step 5. Application Configuration
After successfully installed the package then we should update the application config details to use the package in our application. Here we need to add providers & aliases array details with the following details
| 'providers' => [ | |
| .... | |
| .... | |
| MaddHatter\LaravelFullcalendar\ServiceProvider::class, | |
| ], | |
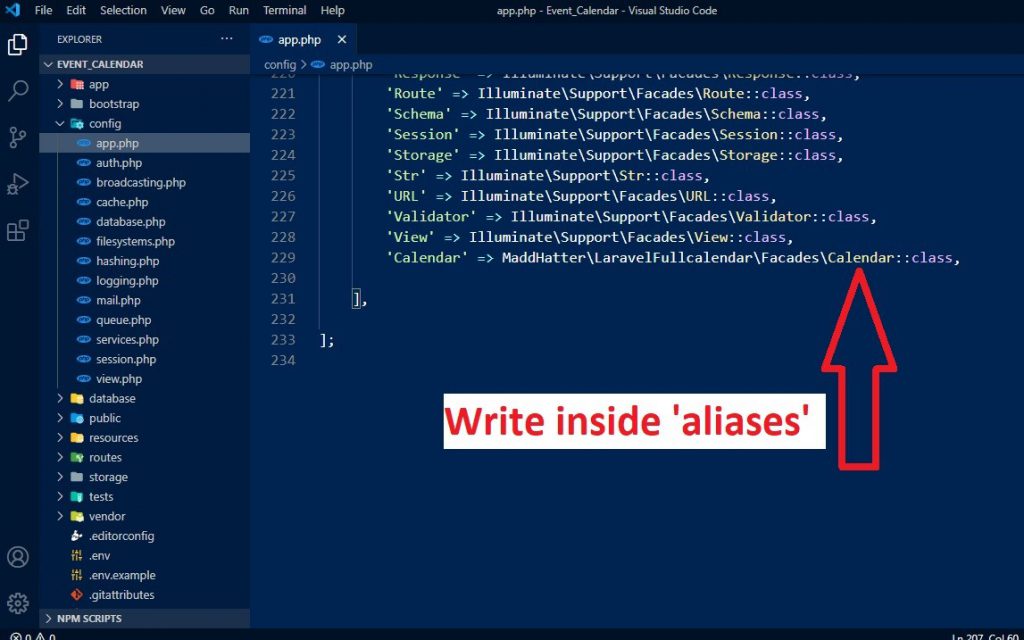
| 'aliases' => [ | |
| .... | |
| .... | |
| 'Calendar' => MaddHatter\LaravelFullcalendar\Facades\Calendar::class, | |
| ] |
Step 5. Create Model, Controller, and Migration
Here, we need to create a Model, Controller, and Migration for Events using Laravel composer artisan command, so first fire bellow command:
php artisan make:model Event -mc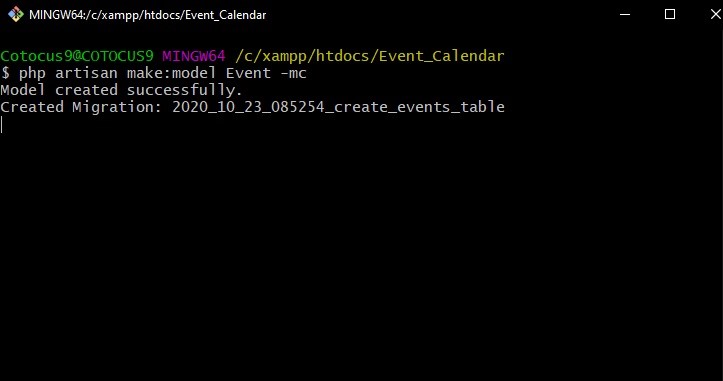
Above command, help us to create Model, Controller, and Migration for Event master.
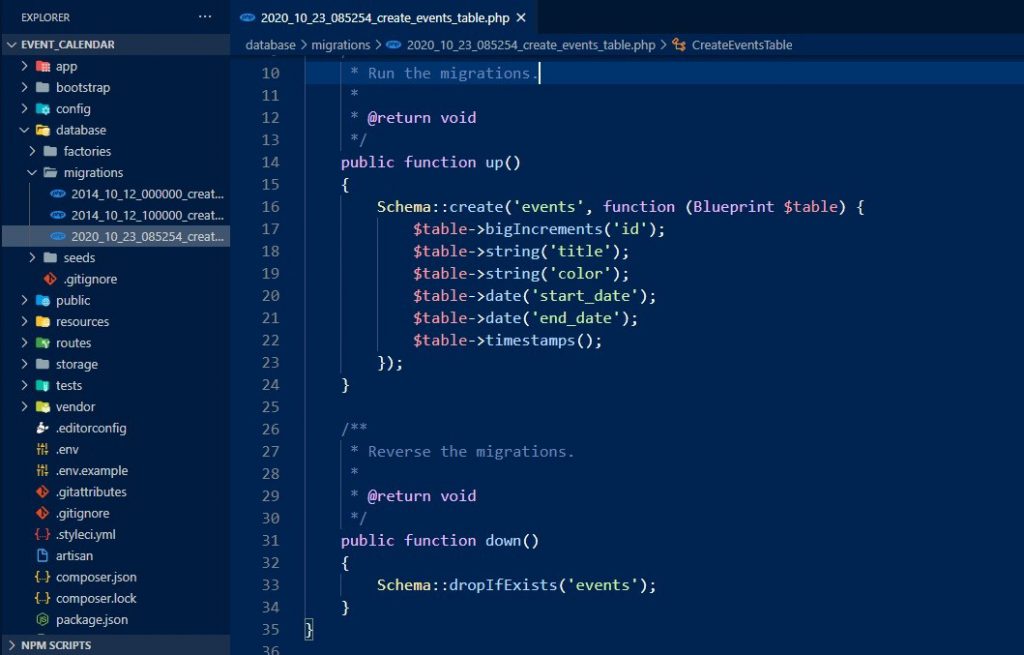
Step 6. In the migration table file.
We need to add the required no of columns details for the event table like title, color, start_date, and end_date, etc.
| public function up() | |
| { | |
| Schema::create('events', function (Blueprint $table) { | |
| $table->bigIncrements('id'); | |
| $table->string('title'); | |
| $table->string('color'); | |
| $table->date('start_date'); | |
| $table->date('end_date'); | |
| $table->timestamps(); | |
| }); | |
| } |
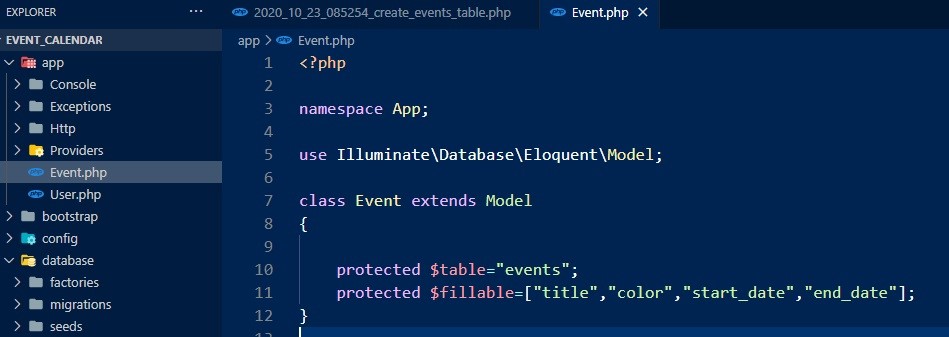
Step 7. We need to go and update the Event model file in our application like fillable, primary key, product, etc.
Event model files present at app/Event.php path and just update with following details in it.
| class Event extends Model | |
| { | |
| protected $table="events"; | |
| protected $fillable=["title","color","start_date","end_date"]; | |
| } |
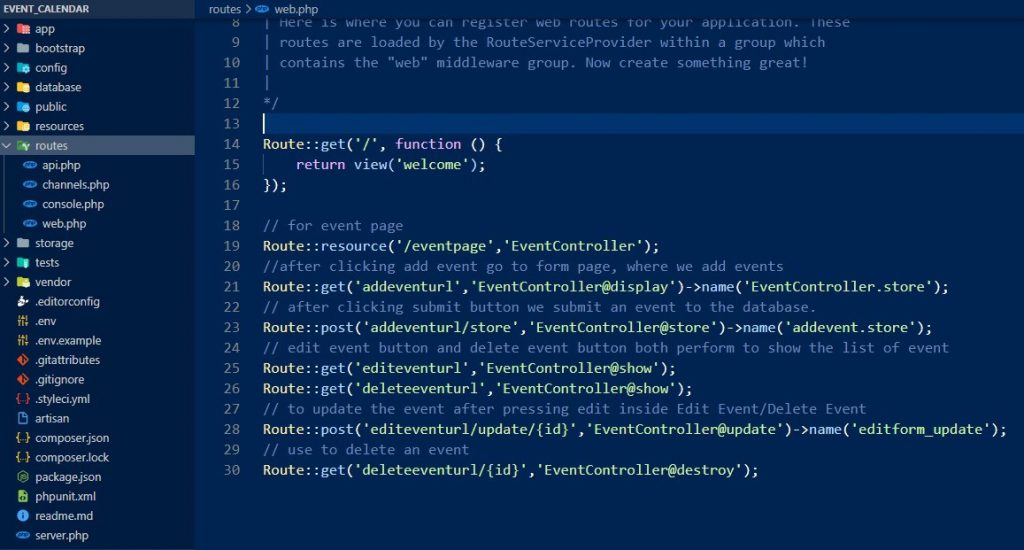
Step 8. Routes Definition
We want to add new routes for showing Event Calendar. So just go to routes/web.php file and update the following routes to access data table operation in our application.
| Route::resource('/eventpage','EventController'); | |
| //Route::get('addeventurl','EventController@create')->name('EventController.store'); | |
| Route::get('addeventurl','EventController@display')->name('EventController.store'); | |
| Route::post('addeventurl/store','EventController@store')->name('addevent.store'); | |
| Route::get('editeventurl','EventController@show'); | |
| Route::get('deleteeventurl','EventController@show'); | |
| Route::post('editeventurl/update/{id}','EventController@update')->name('editform_update'); | |
| Route::get('deleteeventurl/{id}','EventController@destroy'); |
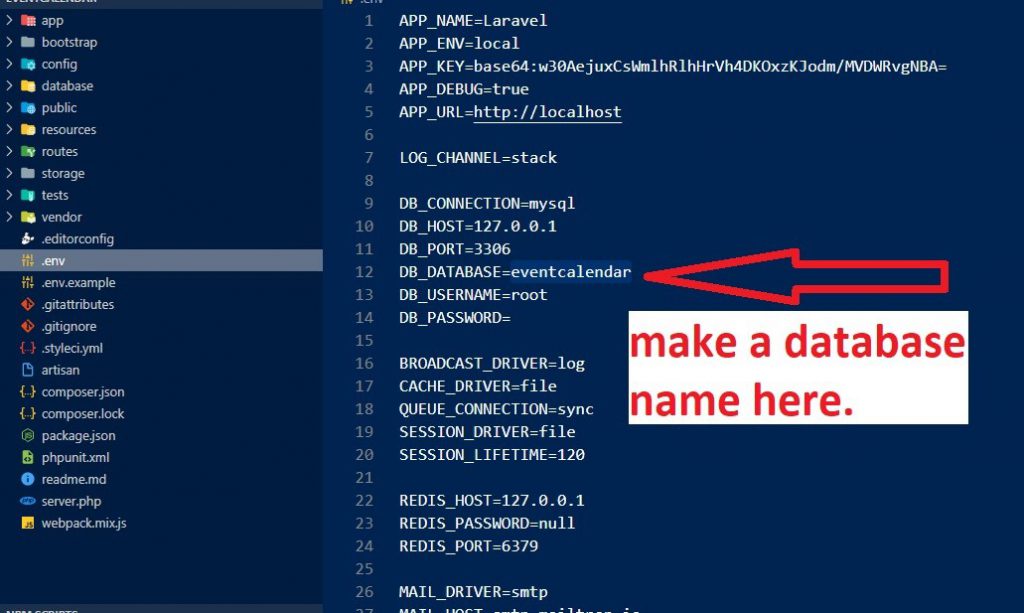
Step 9. Before migrate we Update database name in .env file (DB_DATABASE=eventcalendar)
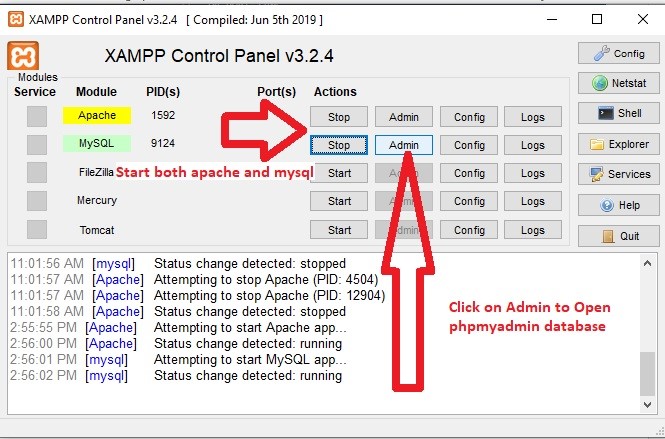
Step 10. Open Xampp and start apache and Mysql and click admin to open phpMyAdmin database
In Part 3, we will see how to make a new controller for Event Calendar?
Click Here —https://www.devopsschool.com/blog/how-to-create-event-calendar-in-laravel-part-3/
I’m a DevOps/SRE/DevSecOps/Cloud Expert passionate about sharing knowledge and experiences. I am working at Cotocus. I blog tech insights at DevOps School, travel stories at Holiday Landmark, stock market tips at Stocks Mantra, health and fitness guidance at My Medic Plus, product reviews at I reviewed , and SEO strategies at Wizbrand.
Please find my social handles as below;
Rajesh Kumar Personal Website
Rajesh Kumar at YOUTUBE
Rajesh Kumar at INSTAGRAM
Rajesh Kumar at X
Rajesh Kumar at FACEBOOK
Rajesh Kumar at LINKEDIN
Rajesh Kumar at PINTEREST
Rajesh Kumar at QUORA
Rajesh Kumar at WIZBRAND
