How it works?

Step 1 – Install Nginx in Centos 7
Step 2 – Configure Nginx and start a services
Step 3 – Enable “ngx_http_stub_status_module” in Nginx
If you use open source NGINX, your instances may lack the stub status module. Verify that your nginx binary includes the module before proceeding to Configuration:
$ nginx -V 2>&1| grep -o http_stub_status_module
http_stub_status_module
If the command output does not include http_stub_status_module, you must install an NGINX package that includes the module.
Step 4 – Configure and Verify a Nginx metrices at http://localhost:81/nginx_status
On each NGINX server, create a status.conf file in the directory that contains your other NGINX configuration files, such as /etc/nginx/conf.d/.
server {
  listen 81;
  server_name localhost;

  access_log off;
  allow 127.0.0.1;
  deny all;

  location /nginx_status {
    # Choose your status module

    # freely available with open source NGINX
    stub_status;

    # for open source NGINX < version 1.7.5
    # stub_status on;

    # available only with NGINX Plus
    # status;

    # ensures the version information can be retrieved
    server_tokens on;
  }
}
$ sudo systemctl restart nginx
$ sudo systemctl status nginx
BROWSER - http://3.110.105.162:81/nginx_status
Inside a Server - curl http://127.0.0.1:81/nginx_status
Step 5 – Configure Datadog integration configuration file
Linux – /etc/datadog-agent/conf.d/nginx.d
Windows – C:\ProgramData\Datadog\conf.d\nginx.d
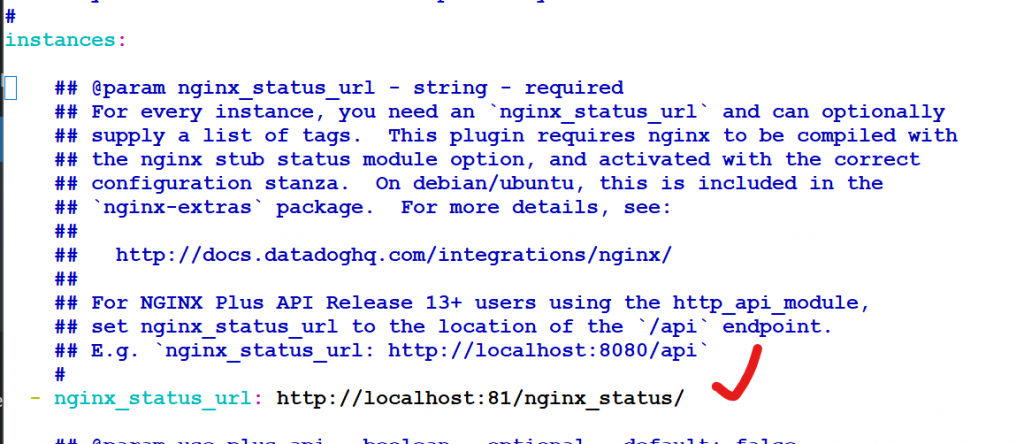
- Go into /etc/datadog-agent/conf.d/nginx.d
- Copy conf.yaml.example into conf.yaml
- Edit conf.yaml and enable integration

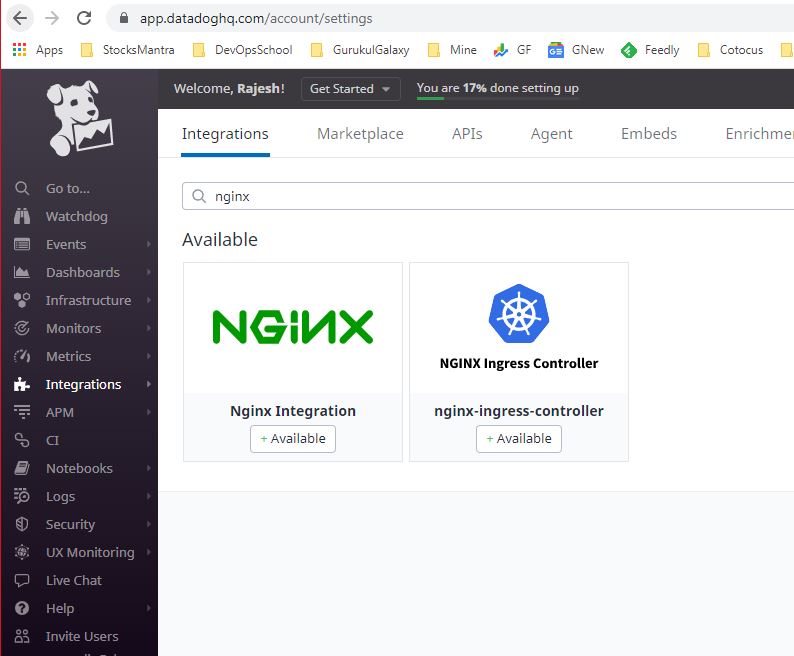
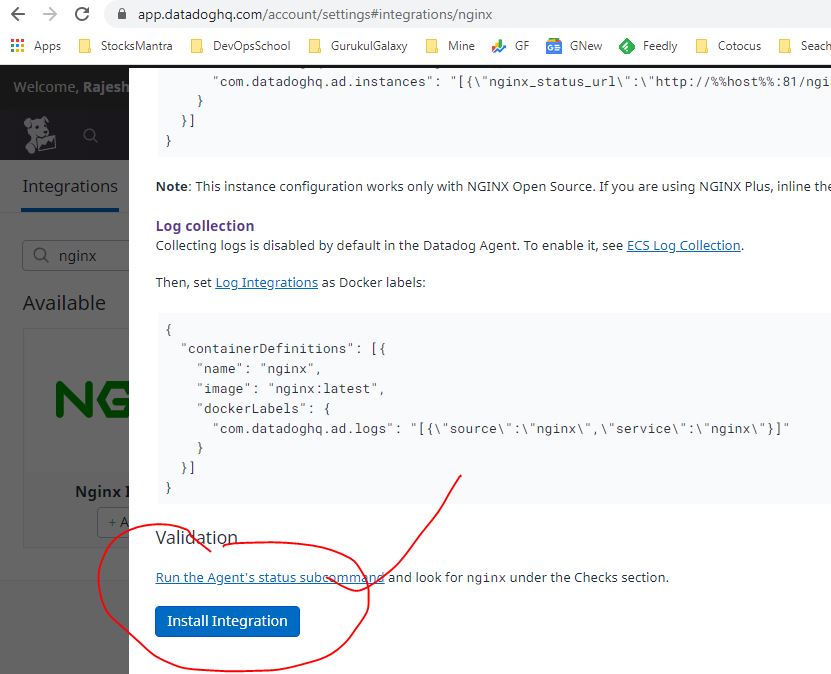
Step 6 – Restart datadog agent & Click on “Install Integration” button on Datadog


Step 7 – Validate NGINX Metrices are coming or not at “Metrics Explorer”

I’m a DevOps/SRE/DevSecOps/Cloud Expert passionate about sharing knowledge and experiences. I am working at Cotocus. I blog tech insights at DevOps School, travel stories at Holiday Landmark, stock market tips at Stocks Mantra, health and fitness guidance at My Medic Plus, product reviews at I reviewed , and SEO strategies at Wizbrand.
Please find my social handles as below;
Rajesh Kumar Personal Website
Rajesh Kumar at YOUTUBE
Rajesh Kumar at INSTAGRAM
Rajesh Kumar at X
Rajesh Kumar at FACEBOOK
Rajesh Kumar at LINKEDIN
Rajesh Kumar at PINTEREST
Rajesh Kumar at QUORA
Rajesh Kumar at WIZBRAND

 Starting: 1st of Every Month
  +91 8409492687
  Contact@DevOpsSchool.com
