How to Upload Profile Image of Users in LARAVEL?
Step 1. Create a new Project in Laravel, so open git bash. Write down the following command:-
$ composer create-project --prefer-dist laravel/laravel ProfileImage "5.8.*"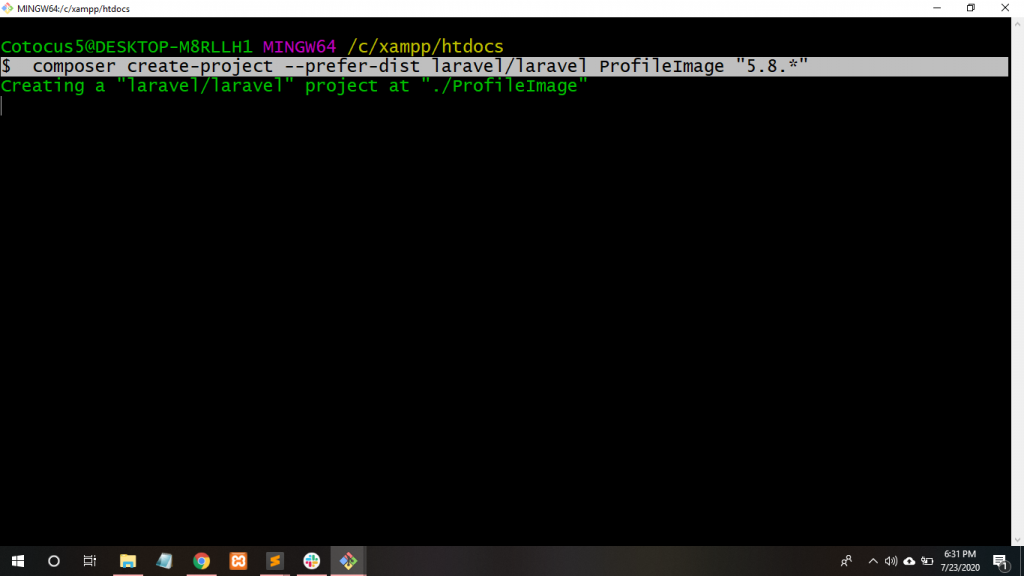
Step 2. Now, Move to project directory on git Bash, so write down the following command:-
$ cd ProfileImage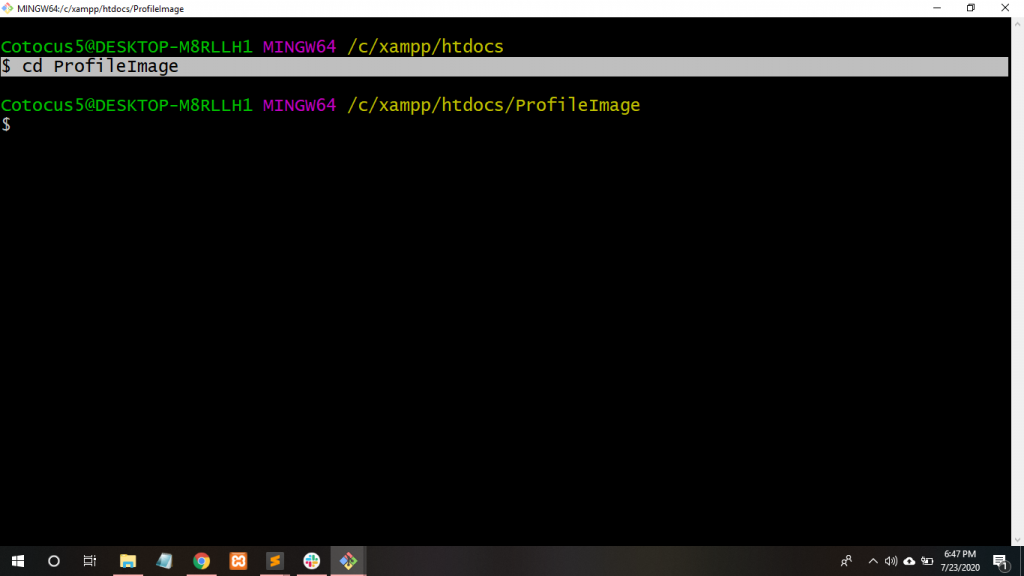
Mysql Database connection Laravel
Step 3. So, Create a Database for this and Go to XAMPP server->phpMyAdmin->Click New Database->imagedatabase.
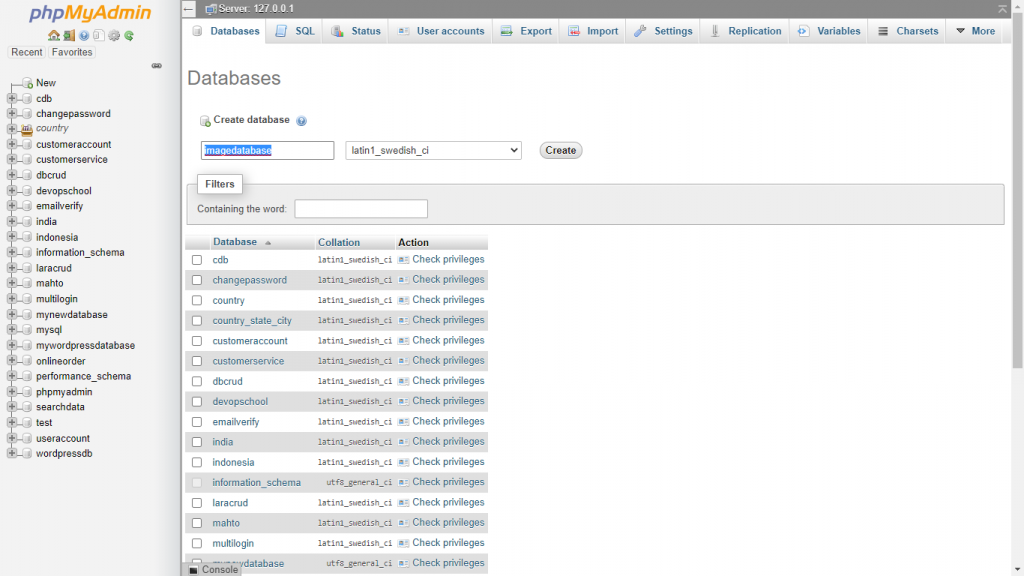
Step 4. Go to .env file to set the project path and give the project DB_DATABASE name and DB_USERNAME name.
DB_CONNECTION=mysql
DB_HOST=127.0.0.1
DB_PORT=3306
DB_DATABASE=imagedatabase
DB_USERNAME=root
DB_PASSWORD=
Step 5. Create the user authentication scaffolding and write down this command:-
$ php artisan make:auth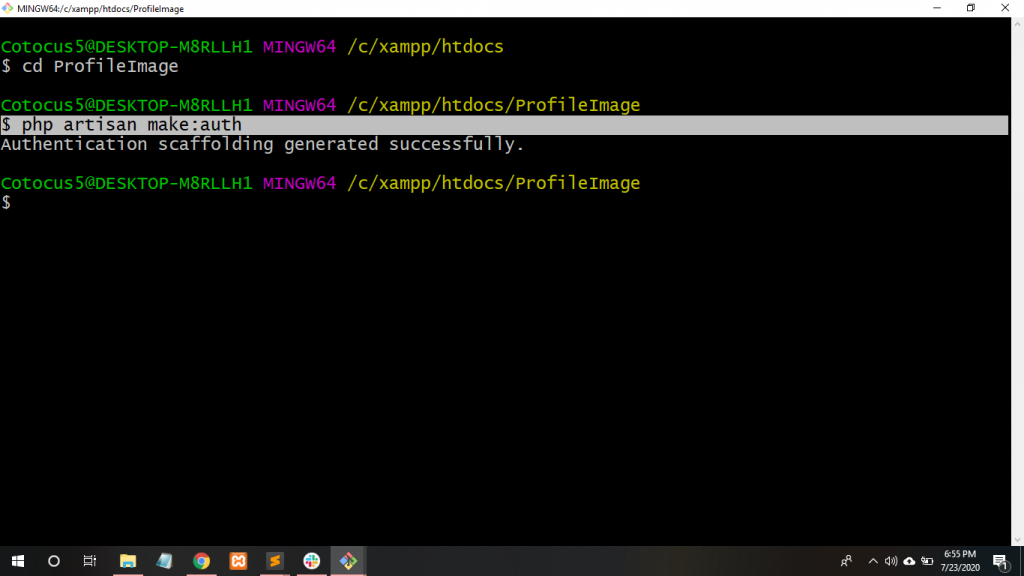
Step 6. Add image column with default value into database/migrations/create_users_table.php
$table->string('image')->default('user.png');Step 7. Migrate the tables into the MySQL database. Write the following command in git Base.
$ php artisan migrate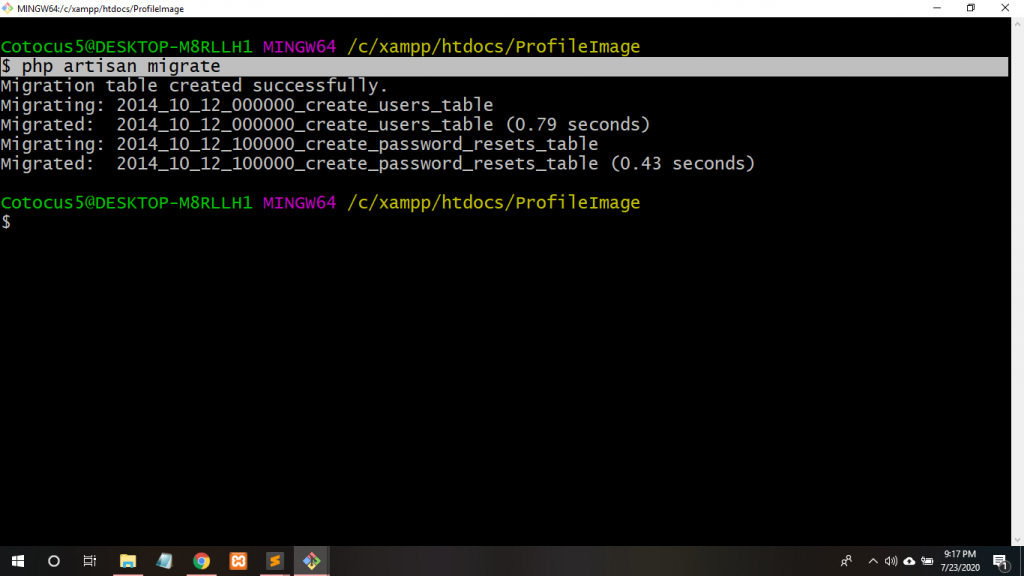
Step 8. Link the storage directory. Write the following command:-
$ php artisan storage:link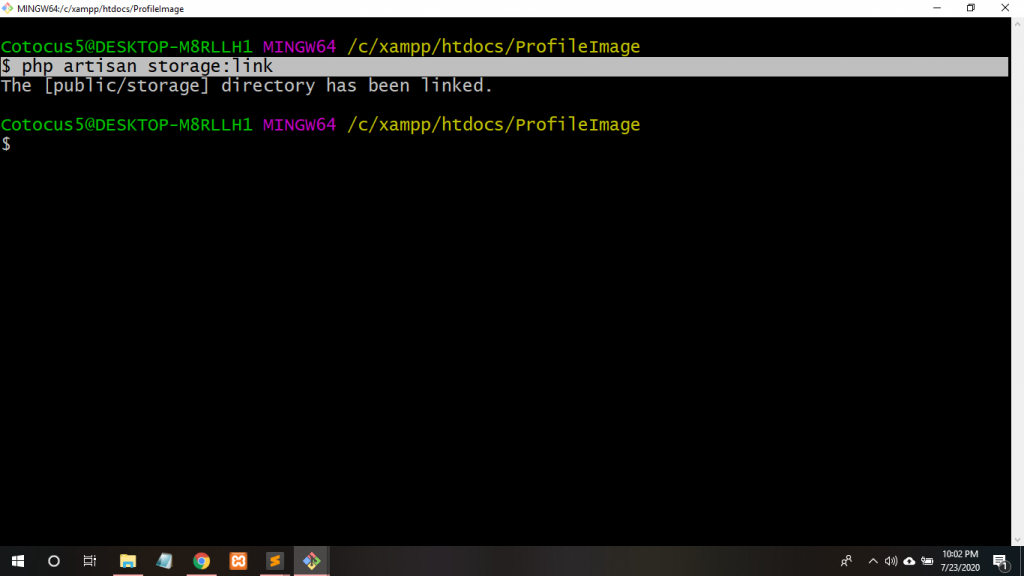
Step 9. Go to resources/views/home.blade.php file.
| @extends('layouts.app') | |
| @section('content') | |
| <div class="container"> | |
| <div class="row justify-content-center"> | |
| <div class="col-md-8"> | |
| <div class="card"> | |
| <div class="card-header">{{Auth::user()->name}}'s Dashboard</div> | |
| <div class="card-body"> | |
| @if (session('status')) | |
| <div class="alert alert-success" role="alert"> | |
| {{ session('status') }} | |
| </div> | |
| @endif | |
| You are logged in! | |
| </div> | |
| <div class="card-body"> | |
| <form action="{{route('home')}}" method="POST" enctype="multipart/form-data"> | |
| @csrf | |
| <input type="file" name="image"> | |
| <input type="submit" value="Upload"> | |
| </form> | |
| </div> | |
| </div> | |
| </div> | |
| </div> | |
| </div> | |
| @endsection |
Step 10. Go to User.php file and write down the following code:-
| protected $fillable = [ | |
| 'name', 'email', 'password','image', | |
| ]; |
Step 11. Go to layouts/app.blade.php file and write down the following code:-
| @if(Auth::user()->image) | |
| <img class="image rounded-circle" src="{{asset('/storage/images/'.Auth::user()->image)}}" alt="profile_image" style="width: 80px;height: 80px; padding: 10px; margin: 0px; "> | |
| @endif |
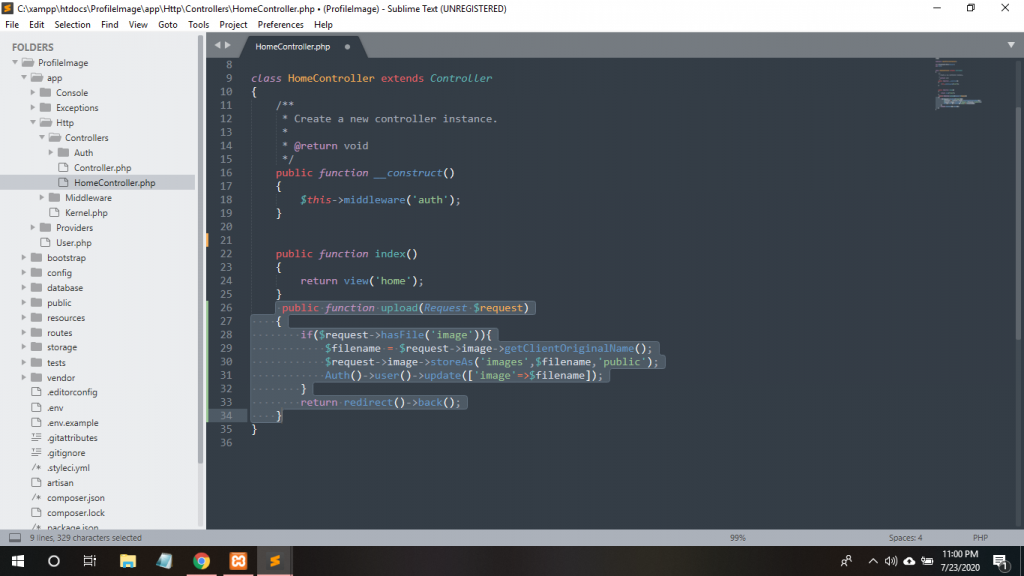
Step 12. Now, Go to app/Http/Controllers/HomeController.php file
| public function upload(Request $request) | |
| { | |
| if($request->hasFile('image')){ | |
| $filename = $request->image->getClientOriginalName(); | |
| $request->image->storeAs('images',$filename,'public'); | |
| Auth()->user()->update(['image'=>$filename]); | |
| } | |
| return redirect()->back(); | |
| } |
Step 13. Then, go to routes/web.php file and define the route.
| Route::post('/home','HomeController@upload'); |
Step 14. After that, Use these classes into routes/web.php file
| use Illuminate\Support\Facades\Input; | |
| use Illuminate\Support\Facades\Routes; | |
| use App\User; |
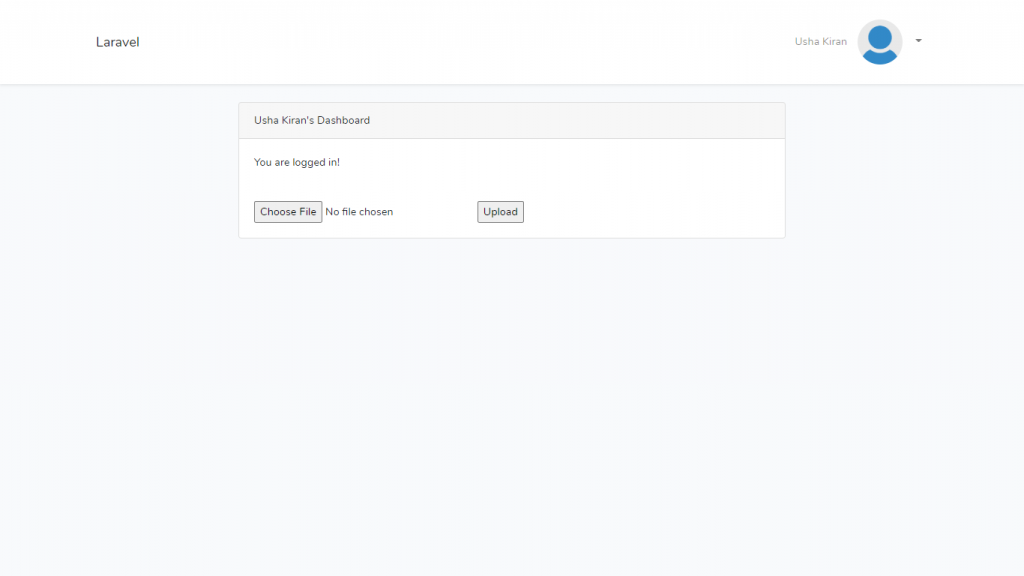
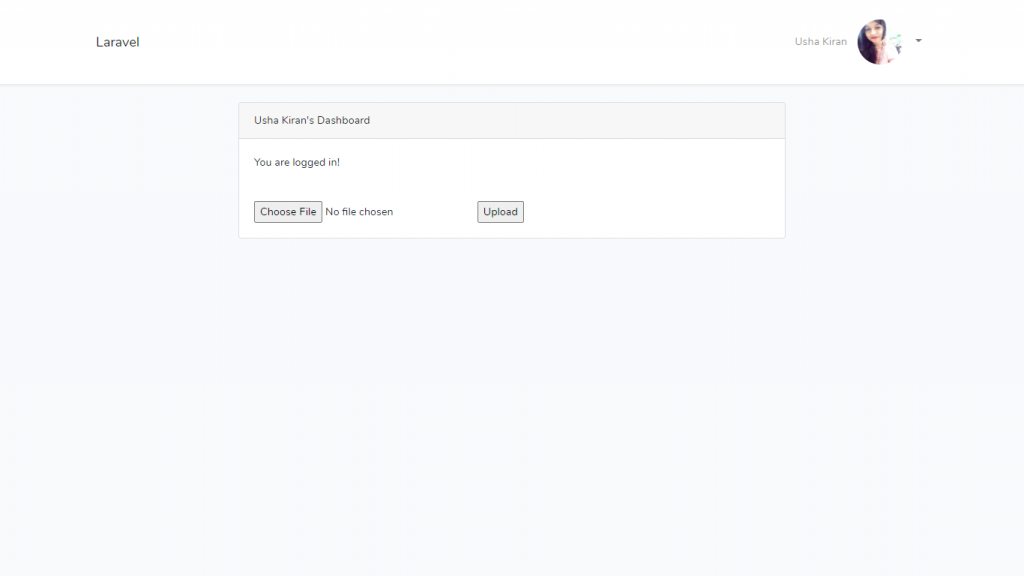
Upload Profile Image
Thanks
With MotoShare.in, you can book a bike instantly, enjoy doorstep delivery, and ride without worries. Perfect for travelers, professionals, and adventure enthusiasts looking for a seamless mobility solution.

 Starting: 1st of Every Month
  +91 8409492687
  Contact@DevOpsSchool.com
 by
by 