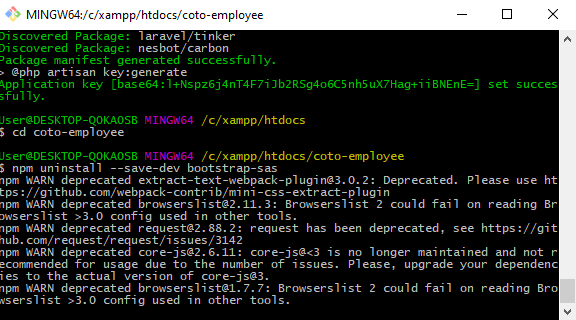
Step 1 : Instal Laravel Application
If you have not install Laravel application, then you have to open command prompt, and run composert command, and then after you can run below command this command will download Laravel application, and install at define destination.
composer create-project --prefer-dist laravel/laravel coto-employee "5.5.*"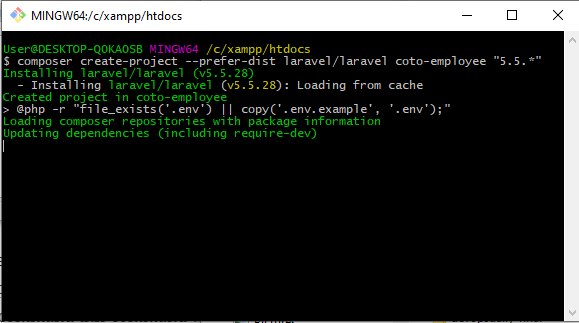
Step 2 : Bootstrap 4 upgrade in laravel 5.5
Laravel 5.5 has been out for some time, Its bundled with the stable version of bootstrap v3.
Bootstrap 4 can be easily installed with following steps.
Step 2.1 : Remove existing bootstrap
Uninstall Bootstrap
npm uninstall –save-dev bootstrap-sas
Step 2.2 : Install Bootstrap 4
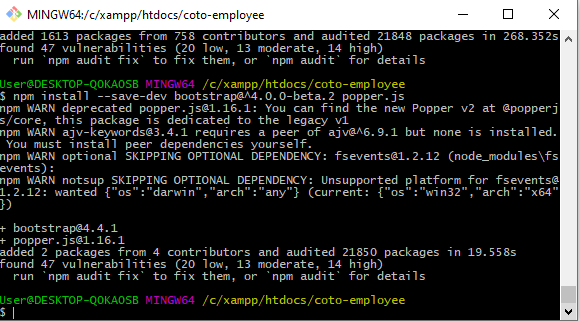
Install Bootstrap 4 beta and popperjs
npm install –save-dev bootstrap@^4.0.0-beta.2 popper.js
Step 2.3 : Update code references
In resources/assets/js/bootstrap.js replace
with
In resources/assets/sass/app.scss replace
@import “~bootstrap-sass/assets/stylesheets/bootstrap”
with
@import “~bootstrap/scss/bootstrap.scss”
In resources/assets/sass/_variable.scss replace
$font-size-base: 14px;
with
$font-size-base: 0.875rem;
Step 2.4 : Recompile Assets
npm run dev
Now you have removed all Bootstrap 3 references and installed Bootstrap 4
Step 3 – Database Connection
For make database connection you have to .env file and define following database configuration.
DB_CONNECTION=mysql
DB_HOST=localhost
DB_PORT=3306
DB_DATABASE=coto_employee
DB_USERNAME=root
DB_PASSWORD=
Step 3 – Create Model ,Migration and Controller
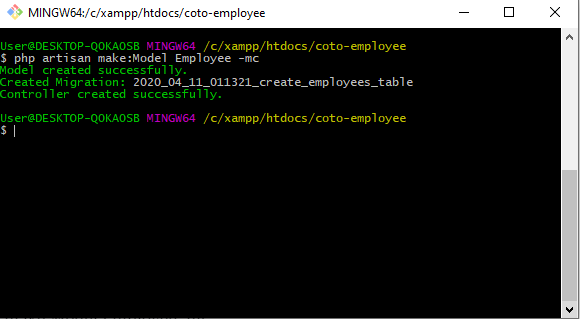
After making database connection, we have to make Employee Model Employee ,Migration _create_employees_table and Controller EmployeeController by using php artisan command. This controller will handle http request for display data on web page with data sorting and pagination request.
php artisan make:Model Employee -mc
Step 4 – Customise Employee Migration Table
Customise Employee migration table adding 2 fields name and email of employee under /database/migrations/2020_04_11_011321_create_employees_table.php
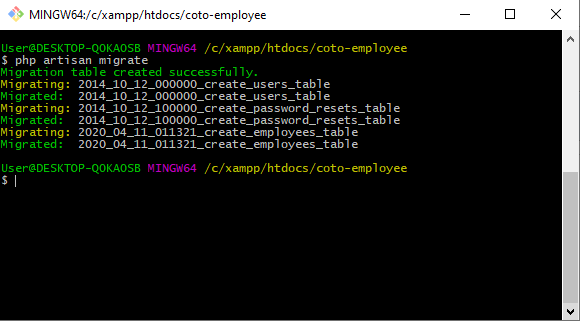
Step 5 – Migrate Tables on Database
php artisan migrate
Step 6 : Create Index() and fetch_data() functions in EmployeeController
Step 7 – Create View file
For display data on web page, in Laravel we have to create view file in resources/views folder. In this folder we have to create two view files like employee.blade.php and employee_data.blade.php.
In employee.blade.php you can find complete html jQuery and ajax code for data sorting and pagination. In this file we have include employee_data.blade.php file data by using @include statement. Below you can find source code of both view files.
employee.blade.php
employee_data.blade.php
Step 7 – Set Route
Lastly we have to set route for controller and method which we have make under controller. For this we have to go to routes/web.php file and write following code for set route.
MotoShare.in is your go-to platform for adventure and exploration. Rent premium bikes for epic journeys or simple scooters for your daily errands—all with the MotoShare.in advantage of affordability and ease.

 Starting: 1st of Every Month
  +91 8409492687
  Contact@DevOpsSchool.com
