This article will help you for step by step setup of Subversion (svn) server on Ubuntu 18.04 LTS & 16.04 LTS systems.
Step 1 – Install Apache
First of all, you need to install the Apache webserver to access the svn server using HTTP URLs. Skip this step if you already have Apache web server on your system.
sudo apt-get update
sudo apt-get install apache2
Step 2 – Install SVN Server
Use the following command to install subversion packages and their dependencies. Also, install svn module for Apache libapache2-mod-svn packages on your system.
sudo apt-get install subversion libapache2-mod-svn libapache2-svn libsvn-dev
After installation, enable required Apache modules and restart Apache service.
sudo a2enmod dav dav_svn
sudo service apache2 restart
Step 3 – Create First SVN Repository
Use the following commands to create your first svn repository with name myrepo. Also, set the required permissions on newly created directories.
sudo mkdir -p /var/lib/svn/
sudo svnadmin create /var/lib/svn/myrepo

sudo chown -R www-data:www-data /var/lib/svn
sudo chmod -R 775 /var/lib/svn
Step 4 – Create Users for Subversion
Now create first svn user in /etc/apache2/dav_svn.passwd file. These users will use for authentication of svn repositories for checkout, commit processes.
sudo touch /etc/apache2/dav_svn.passwd
sudo htpasswd -m /etc/apache2/dav_svn.passwd admin
To create additional users, use following commands.
sudo htpasswd -m /etc/apache2/dav_svn.passwd user1
sudo htpasswd -m /etc/apache2/dav_svn.passwd user2
Step 5 – Configure Apache with Subversion
Subversion Apache module package creates an configuration file /etc/apache2/mods-enabled/dav_svn.conf. You just need to make necessary changes to it.
sudo vi /etc/apache2/mods-enabled/dav_svn.conf
Alias /svn /var/lib/svn
<Location /svn>

   DAV svn
   SVNParentPath /var/lib/svn

   AuthType Basic
   AuthName "Subversion Repository"
   AuthUserFile /etc/apache2/dav_svn.passwd
   Require valid-user

</Location>
Save the file and restart the Apache service to apply the new configuration.
sudo service apache2 restart
Step 6 – Access Repository in Browser
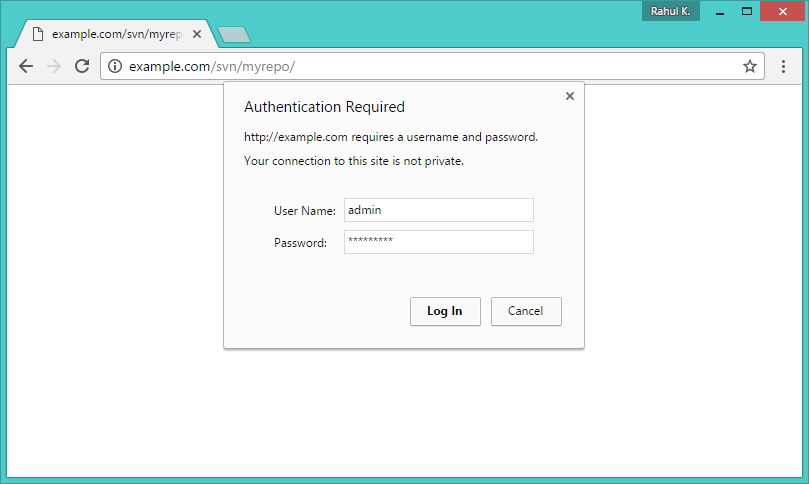
Use HTTP URLs to access your repository in the browser. It will prompt for authentication. Use login credentials created in Step 5. Change example.com with your system hostname, domain name or IP address.
http://example.com/svn/myrepo/
I’m a DevOps/SRE/DevSecOps/Cloud Expert passionate about sharing knowledge and experiences. I am working at Cotocus. I blog tech insights at DevOps School, travel stories at Holiday Landmark, stock market tips at Stocks Mantra, health and fitness guidance at My Medic Plus, product reviews at I reviewed , and SEO strategies at Wizbrand.
Please find my social handles as below;
Rajesh Kumar Personal Website
Rajesh Kumar at YOUTUBE
Rajesh Kumar at INSTAGRAM
Rajesh Kumar at X
Rajesh Kumar at FACEBOOK
Rajesh Kumar at LINKEDIN
Rajesh Kumar at PINTEREST
Rajesh Kumar at QUORA
Rajesh Kumar at WIZBRAND

 Starting: 1st of Every Month
  +91 8409492687
  Contact@DevOpsSchool.com


what i do next how i use it
Good tutorial. Thanks !!