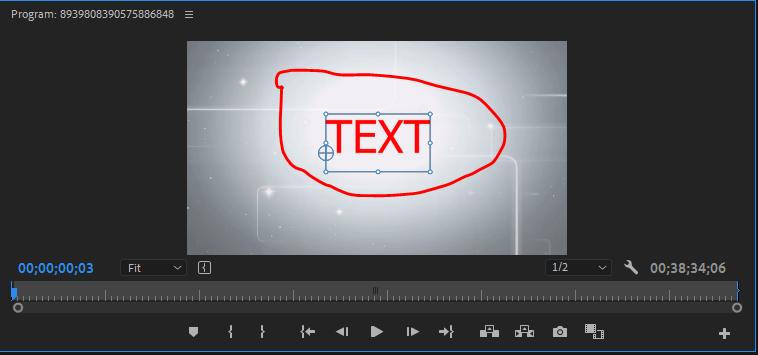
The title of special features for the editor has been given in Adobe Premiere. Titles are used to write any text in any footage. Premiere Pro has a tool bar for the title. In which you can easily write text on any footage with the help of title.
How the title works in Adobe Premiere?
If you are ready to add the title to your sequence, then drag the title clip from the project panel into the timeline panel and use it in the sequence. If you want to superimpose the title on that video clip, then make sure to place it on top of another clip. Drag the edge of the title clip to the right or to the left, or you can also shorten its duration.

How the title works in Adobe Premiere?
In Premier Pro, the title is divided into five parts. All the details are given below.
- Creating Titles
- Duplicating Titles
- Safe Margins
- Video Behind Titles
- Text Tools
- Type Tool
- Area Type Tool
- Text Formatting
- Color
- Outlines

1. Creating Titles
- To create a new title, go to File> New> Legacy Title
- The video title in the new title must be the default to match the project settings.
- Name the title and then click OK.
- You can click on the roll / crawl option button to choose still, roll, crawl left and crawl right.
- To duplicate any title, click on the new title based on the current title button.
2. Duplicating Titles
When a title is dragged or copied and pasted into the timeline of a title, the copy is bound to the original. If one of the copies is modified, they will all be modified as well. Each unique title requires a separate title clip in the project panel.
- Right-click on a title in the Project panel and select Duplicate and go to the new title> Based on the current title.
- When the designer panel is open in the title, then click on the new title based on the current title button.
3. Safe Margins
To enable or disable through a secure margin, click the horizontal lines to the right of the title name and select or deselect.
- Safe Title Margins
- Safe Action Margins
4. Video Behind Titles
When a title is being edited but not yet in the timeline, you can preview the video in the background with or without it.
- Click the background video button at the top of the title panel to enable or disable the video.
- To change which frame of the video is displayed change the timecode value below the button or move the playhead in the timeline.
When the title is in the timeline.
- It resides above another video track and the title will appear on the video track below.
- No video is above the track and the title appears in black.
5. Text Tools
Type Tool
- Click in the title panel with the Type tool and start typing.
- Use the selection tool to position the title.
- The ‘selection tool’ can be used to change the size of a text box.
Area Type Tool
- Click and drag the title panel, then create a text box.
- The text box determines where the text will appear.
- The text size is not affected when the box is resized.
Text Formatting
The text formatting tools are also included at the top of the title panel and in the title properties panel.
- Font type
- Bold, italics, underline.
- Font size (in scan lines)
- Kerning
- center,Left, right justification.
Color
The color is set during the fill setting in the title properties.
- Click on the color box to use the color picker.
- Choose a color from the frame of the video using the eyedropper tool.
Outlines
Adding an outline to a title requires adding external strokes.
The light back outline helps to stick out the light text on the video.
- In Title Properties go to Strokes – Outer Stroke and click Add.
- Set the Type to Edge.
- Adjust the Size as desired.
- Set FIll Type to Solid
- Set the Color.
From where to Download Adobe Premiere?
Titles and Essential Graphics Tutorial in Adobe Premiere Pro CC
I’m a DevOps/SRE/DevSecOps/Cloud Expert passionate about sharing knowledge and experiences. I am working at Cotocus. I blog tech insights at DevOps School, travel stories at Holiday Landmark, stock market tips at Stocks Mantra, health and fitness guidance at My Medic Plus, product reviews at I reviewed , and SEO strategies at Wizbrand.
Please find my social handles as below;
Rajesh Kumar Personal Website
Rajesh Kumar at YOUTUBE
Rajesh Kumar at INSTAGRAM
Rajesh Kumar at X
Rajesh Kumar at FACEBOOK
Rajesh Kumar at LINKEDIN
Rajesh Kumar at PINTEREST
Rajesh Kumar at QUORA
Rajesh Kumar at WIZBRAND

 Starting: 1st of Every Month
  +91 8409492687
  Contact@DevOpsSchool.com
