Navigation from One Screen to Other is pretty Easier, Just Follow the Below Steps :-
Step 1 :- First of all, make two new files named home.dart and about.dart .
Step 2 :- Now in main.dart, import material.dart package library as well as home.dart. See the below image.

Step 3 :- Now we call main() in which we call runApp(), in which we call MaterialApp() widget.
Now we call Scaffold in home widget in which we call appBar. In appBar, we call Title as Text Widget in which we pass our App Title. After appBar we use Body Widget in which we pass our Own Widget Home().
See the Below code of main.dart :-
import 'package:flutter/material.dart';
import 'home.dart';

void main() {
  runApp(MaterialApp(
    home: Scaffold(
      appBar: AppBar(
        title: Text("Naviagtion App"),
      ),
      body: Home(),
    ),
  ));
}
Code language: JavaScript (javascript)
Step 4 :- Now in home.dart, import material.dart package library as well as about.dart. See the below image.

Step 5 :- After importing, we will make a Stateful Widget with name Home and return container, in which Child widget is called. In child widget, we call column , in which we call Children Widget. Now in Children Widget, call RaisedButton() which onPressed call navigation push and return our Own made Widget About(). After onPressed() widget, we call a Text widget named Child in which we write “Go to About Screen“.
See the Below code of home.dart :-
Step 6 :- Now Moving on about.dart, first import material.dart package library.
Step 7 :- After that, make a Stateless Widget and return scaffold(). In scaffold, make appBar Widget in which pass Title widget and write title of the new screen. After appBar widget, make a body widget which is in Centre and passing Text widget as Child in which we pass a text “This is About Screen”.
See the Below code of about.dart :-
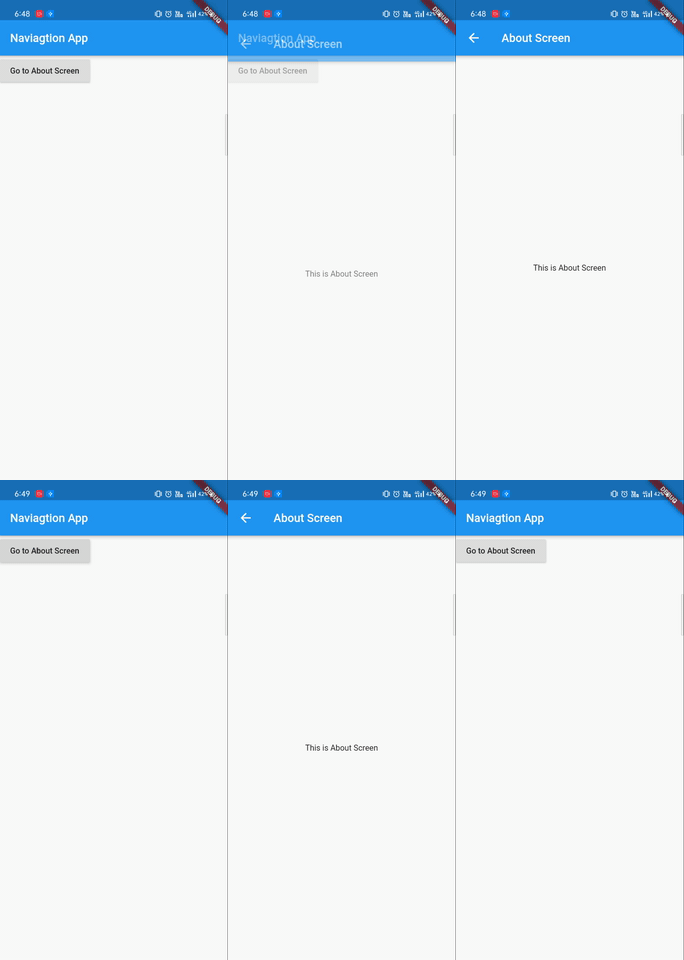
Now We are Ready to Run our Project.
See Output Below

With MotoShare.in, you can book a bike instantly, enjoy doorstep delivery, and ride without worries. Perfect for travelers, professionals, and adventure enthusiasts looking for a seamless mobility solution.

