How to Verify an Email in Laravel?
Step 1. Create a new Project in Laravel, so Open git Bash. Write down the following command:-
$ composer create-project --prefer-dist laravel/laravel Emailverify "5.8.*"Code language: JavaScript (javascript)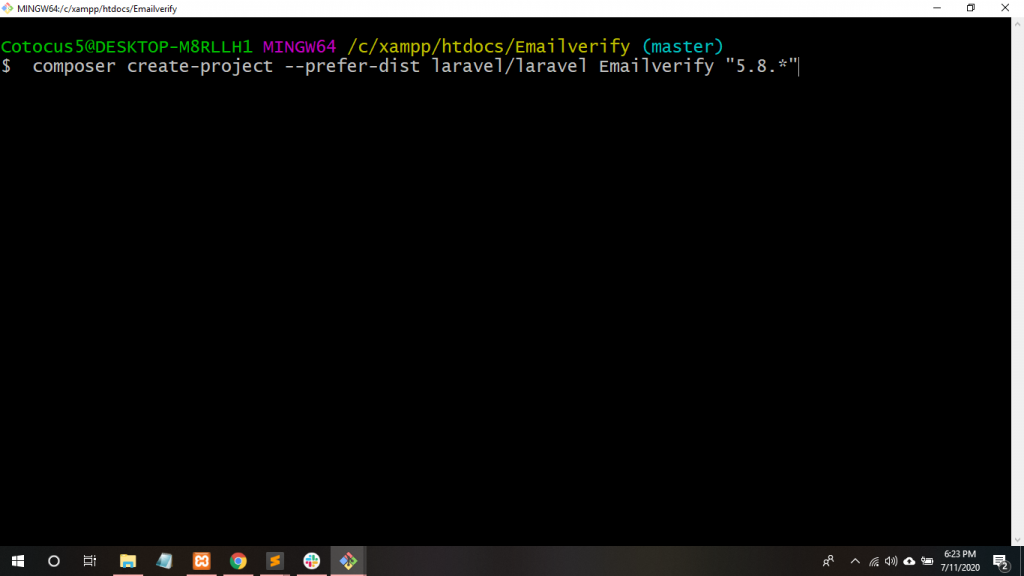
Step 2. Now, Move to project directory on git Bash, so write down the following command:-
$ cd emailverify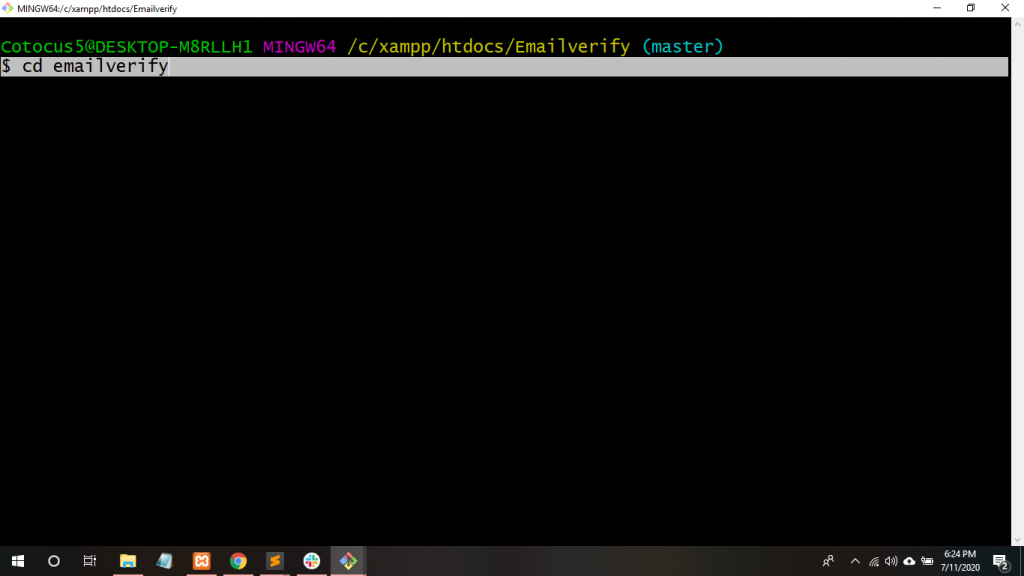
Step 3. So, we have to Create a new Database. Go to XAMPP server->phpMyAdmin->Click New Database-> emailverify.
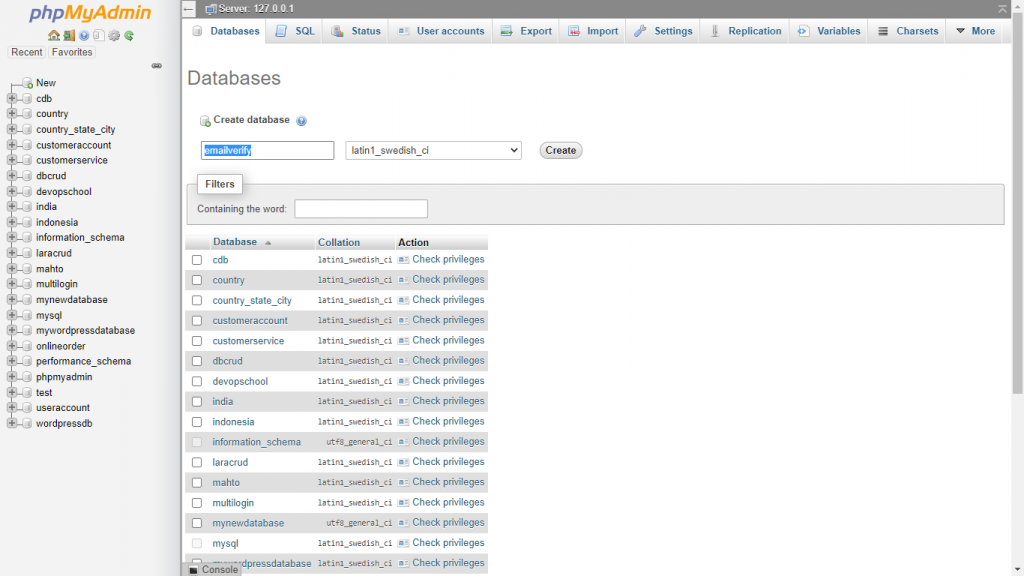
Mysql Database connection Laravel
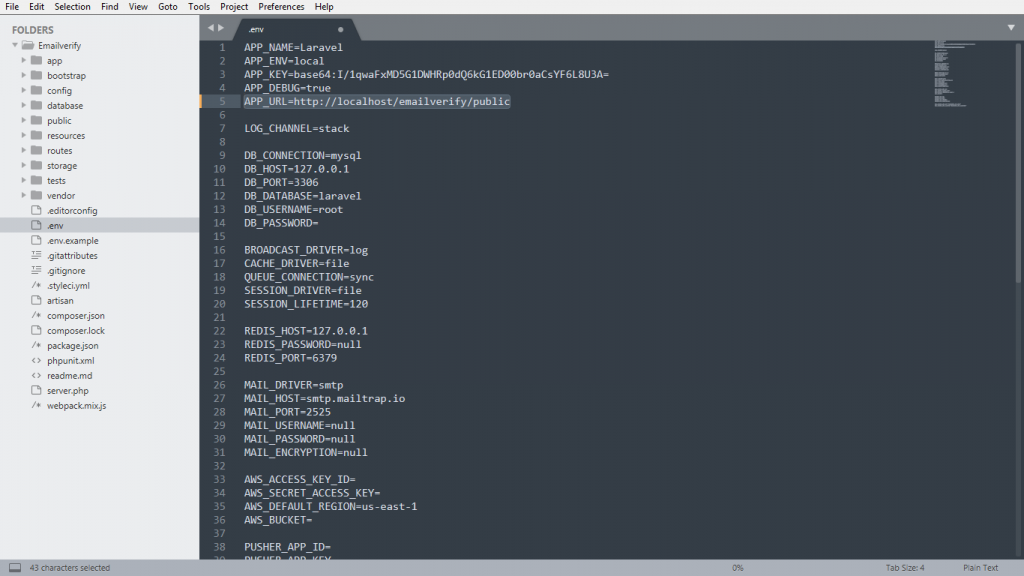
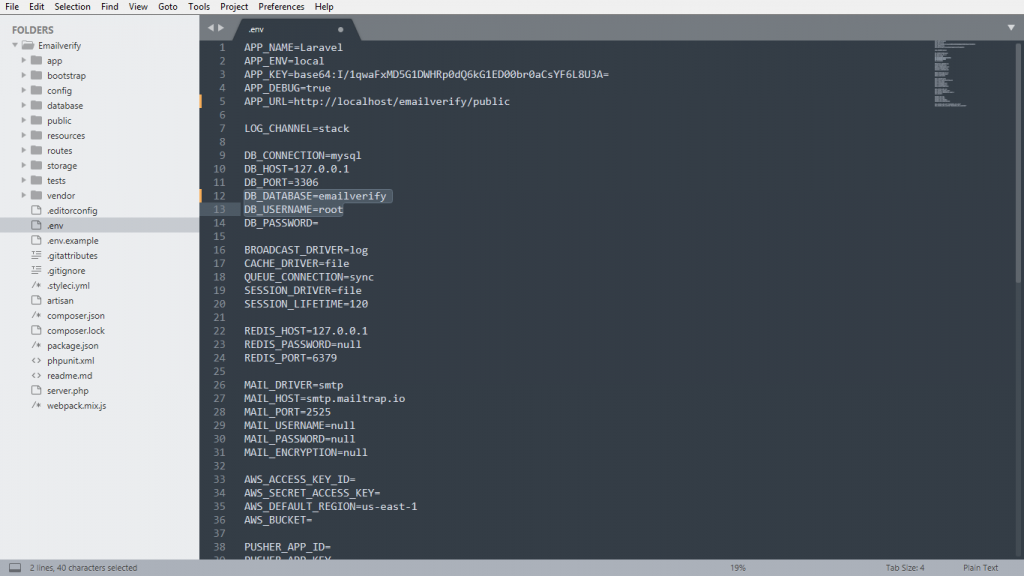
Step 4. Now, Go to .env file to set the project path and give the project APP_URL, DB_DATABASE name and DB_USERNAME name.
Step 5. Create the user authentication scaffolding. Write down the following command:-
$ php artisan make:auth
Step 6. Go to app\Providers\AppServicesProvider.php and write down the following code:-
 public function register()
    {
        Schema::defaultStringLength(200);
    }Code language: CSS (css)
use Illuminate\Support\Facades\Schema;Code language: PHP (php)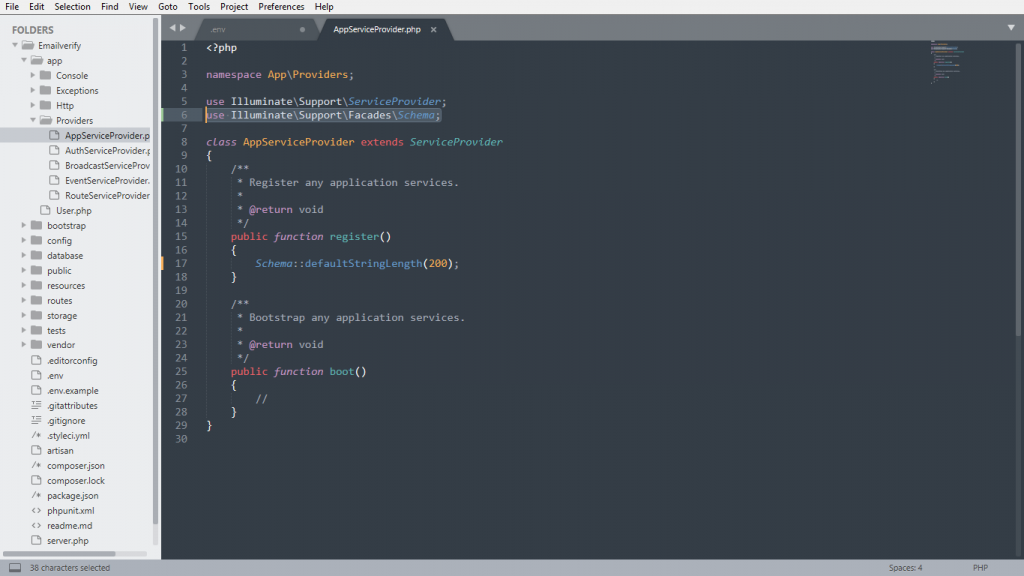
Step 7. Thereafter, Migrate tables into the MySQL database. Write the following command within git Base.
$ php artisan migrate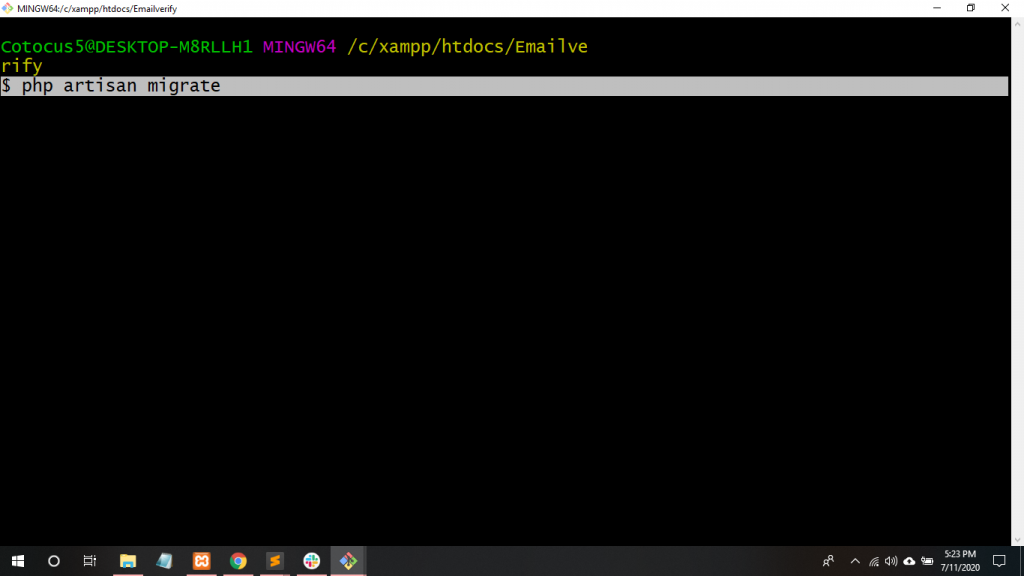
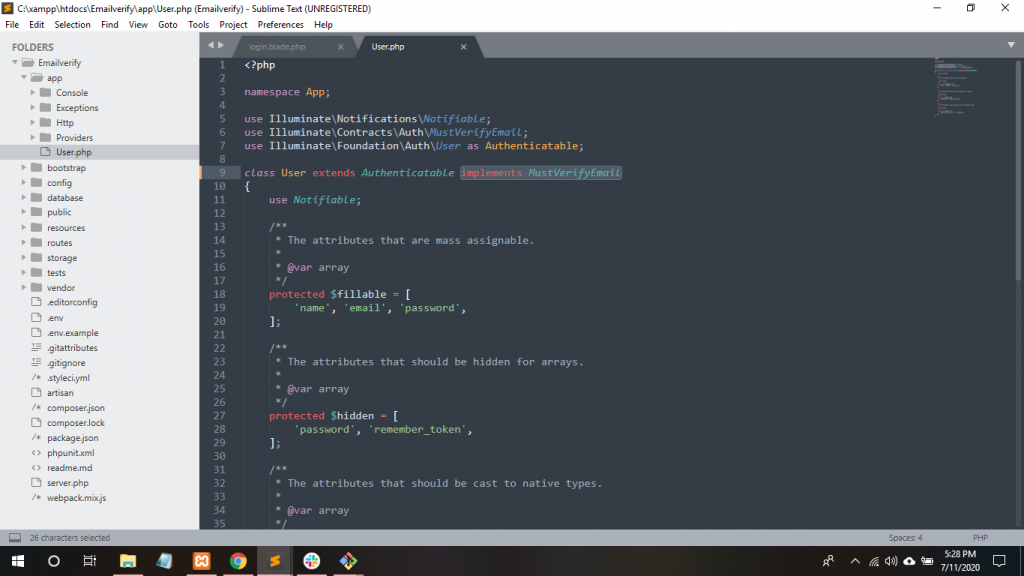
Step 8. Implement the MustVerifyEmail feature in User Model.
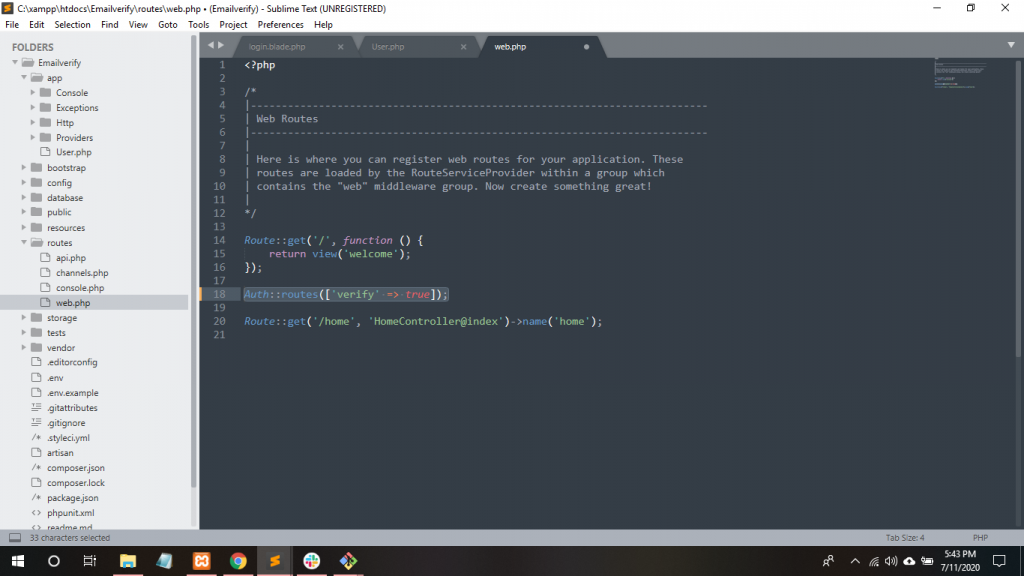
Step 9. Go to routes/web.php file and write down the following code:-
| Auth::routes(['verify' => true]); |
Route::get('/home', 'HomeController@index')->name('home')->middleware('verified');Code language: PHP (php)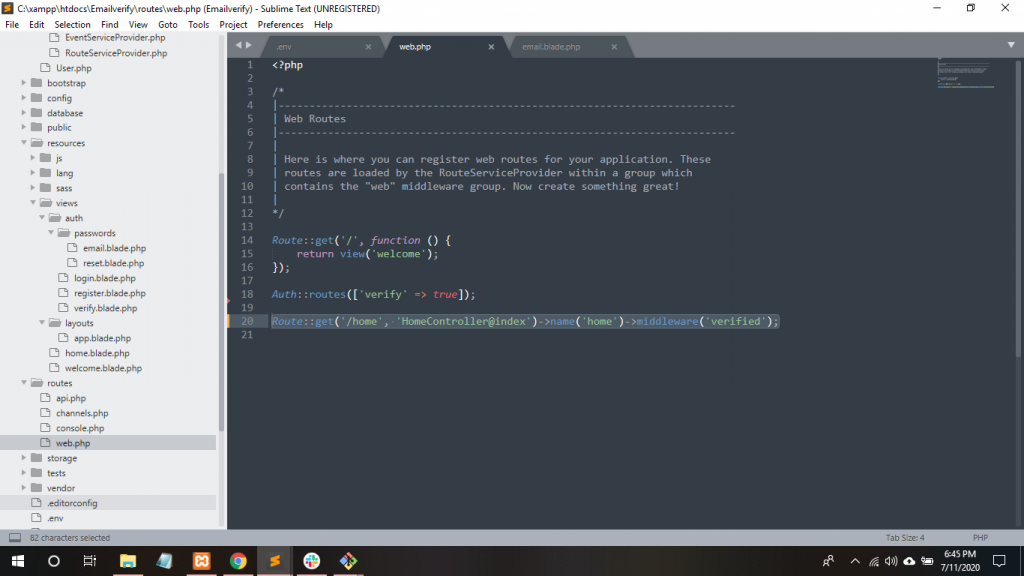
Step 11. Open this link https://mailtrap.io/ and login with your Google account.
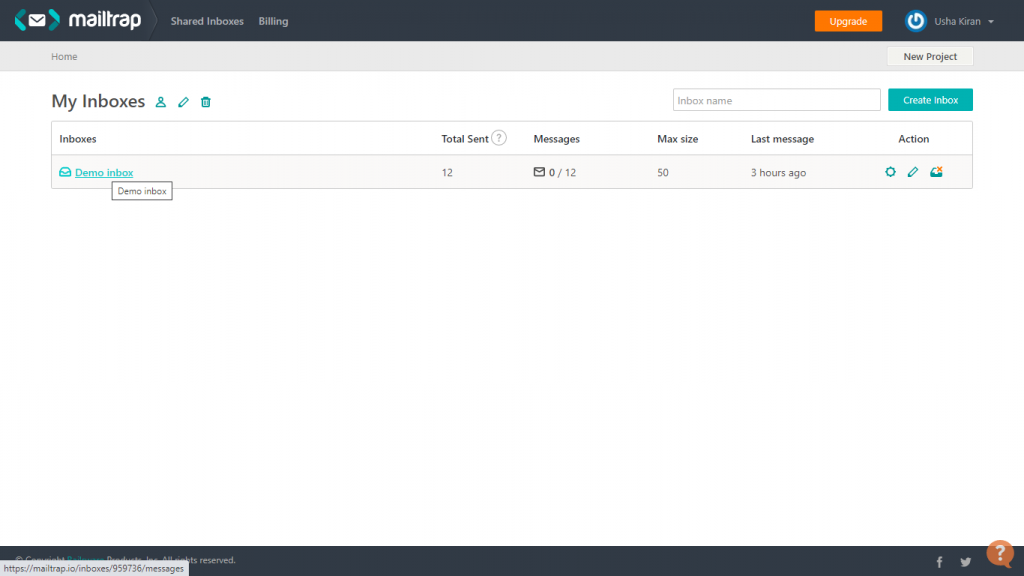
Step 12. Click the demo inbox link.
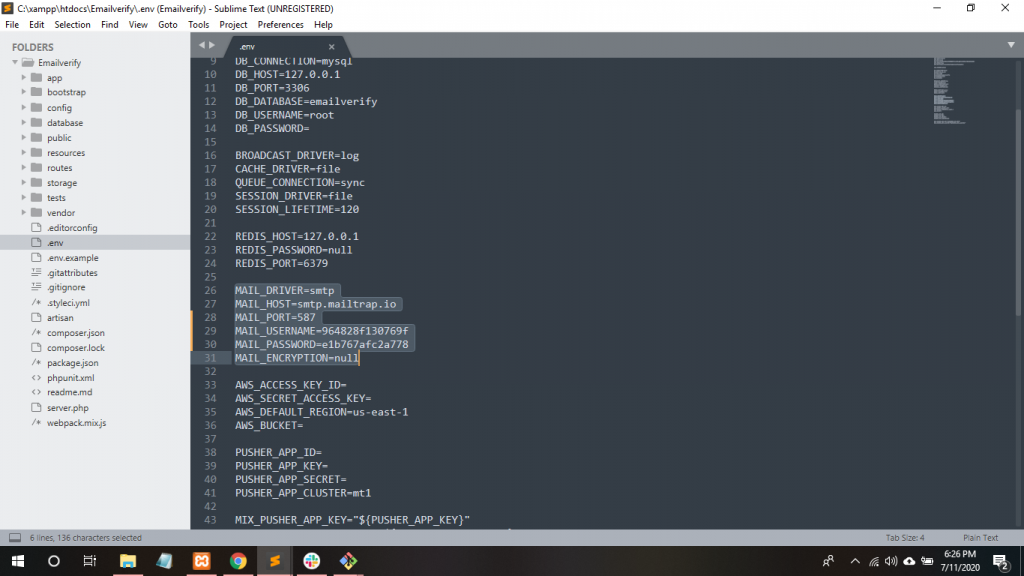
Step 12. Copy port, username , password and paste in .env file.
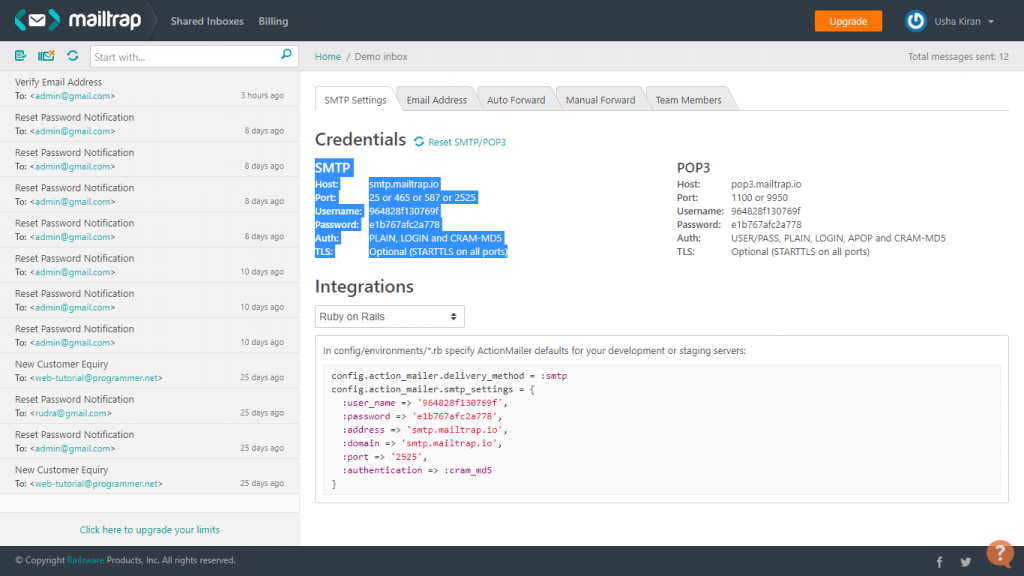
| MAIL_DRIVER=smtp | |
| MAIL_HOST=smtp.mailtrap.io | |
| MAIL_PORT=587 | |
| MAIL_USERNAME=964828f130769f | |
| MAIL_PASSWORD=e1b767afc2a778 | |
| MAIL_ENCRYPTION=null |
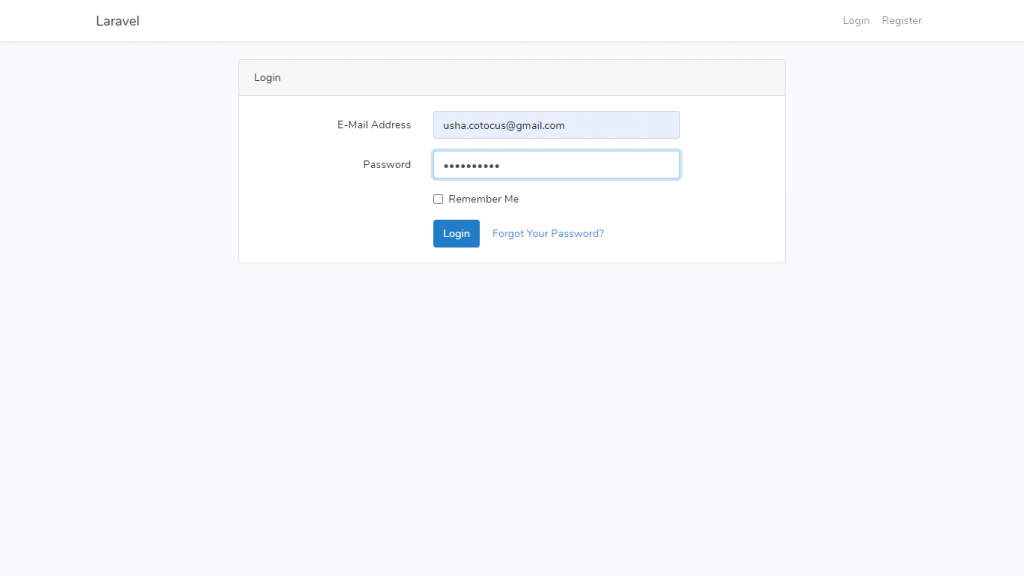
Step 13. Firstly, You have to register, then log in your project.
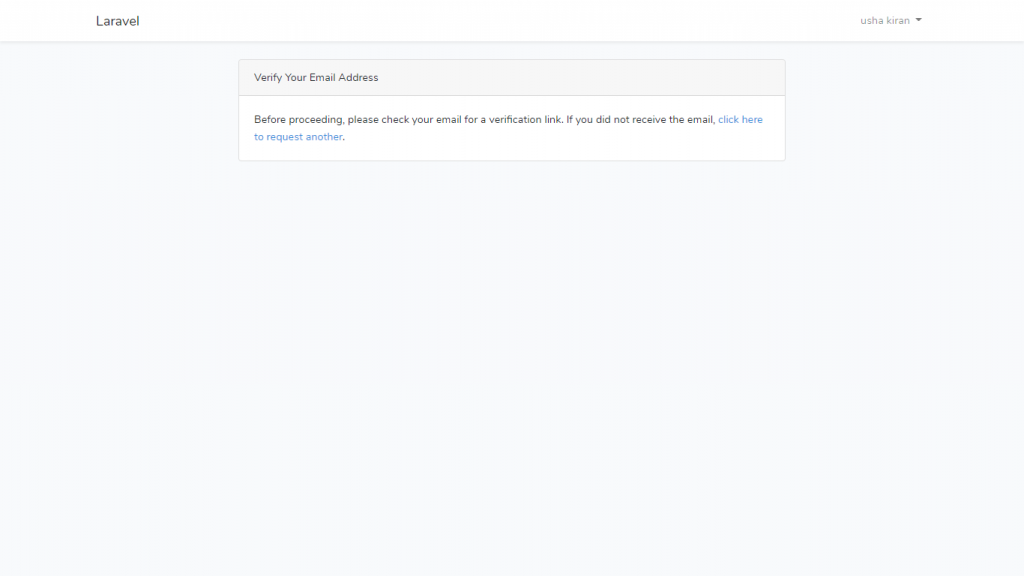
Step 14. Now, you can see that it’s asking for email verification.
Step 15. After clicking, a fresh verification link would have sent to your email address. You can see the mailtrap.in the demo inbox.
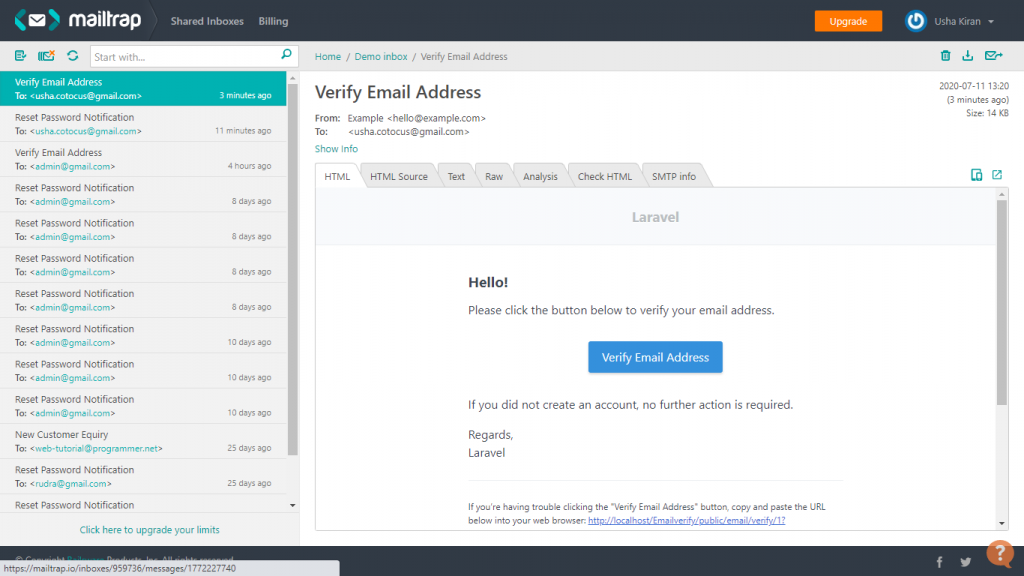
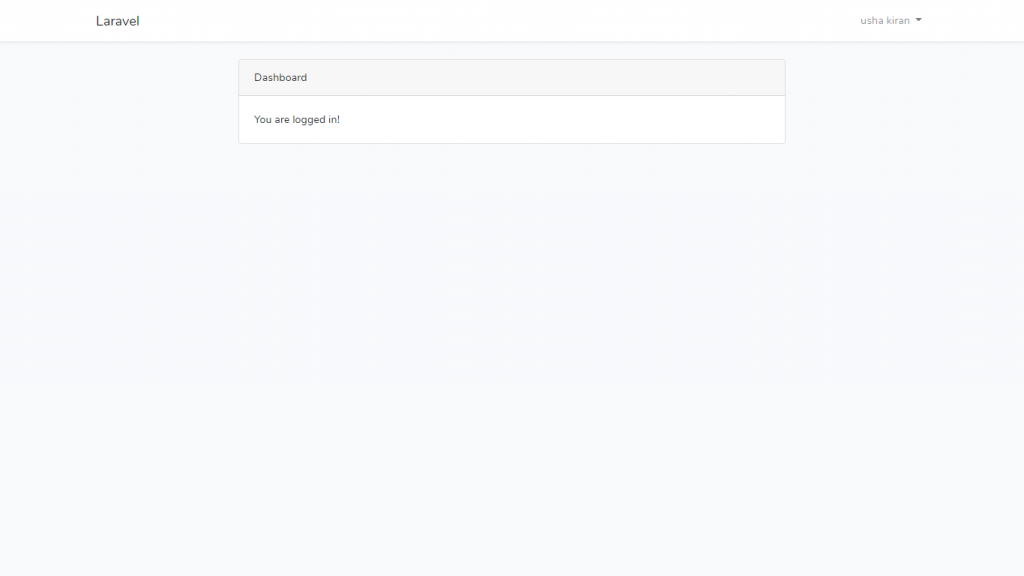
Step 16. Click the Verify Email Address button . After that you’ll be logged in your dashboard.
Thanks
With MotoShare.in, you can book a bike instantly, enjoy doorstep delivery, and ride without worries. Perfect for travelers, professionals, and adventure enthusiasts looking for a seamless mobility solution.

