Platform & Compoenent
Ubuntu Version: 20:04
Zabbix Version: 6.0 LTS
Database: MySQL
Web Server: Apache
Prerequisite
Step 1 – Install Zabbix repository
# sudo -s [ Become a root user ]
# wget https://repo.zabbix.com/zabbix/6.0/ubuntu/pool/main/z/zabbix-release/zabbix-release_6.0-1+ubuntu20.04_all.deb
# dpkg -i zabbix-release_6.0-1+ubuntu20.04_all.deb
# apt updateCode language: PHP (php)
Step 2 – Install Zabbix server, frontend, agent
# apt install zabbix-server-mysql zabbix-frontend-php zabbix-apache-conf zabbix-sql-scripts zabbix-agentCode language: PHP (php)Step 3 – Create initial database
Make sure you have database server up and running.
Run the following on your database host.
# mysql -uroot -p
password
mysql> create database zabbix character set utf8mb4 collate utf8mb4_bin;
mysql> create user zabbix@localhost identified by 'DevOpsSchool$123';
mysql> grant all privileges on zabbix.* to zabbix@localhost;
mysql> GRANT SUPER ON *.* TO 'zabbix'@'localhost';
mysql> FLUSH PRIVILEGES;
mysql> quit;Code language: PHP (php)
On Zabbix server host import initial schema and data. You will be prompted to enter your newly created password.
$ ls /usr/share/doc/zabbix-sql-scripts/mysql/server.sql.gz
$  zcat /usr/share/doc/zabbix-sql-scripts/mysql/server.sql.gz | mysql -uzabbix -p zabbix

# Alternate location
/usr/share/zabbix-sql-scripts/mysql
$ ls /usr/share/zabbix-sql-scripts/mysql/server.sql.gz
$  zcat /usr/share/zabbix-sql-scripts/mysql/server.sql.gz | mysql -uzabbix -p zabbixCode language: PHP (php)
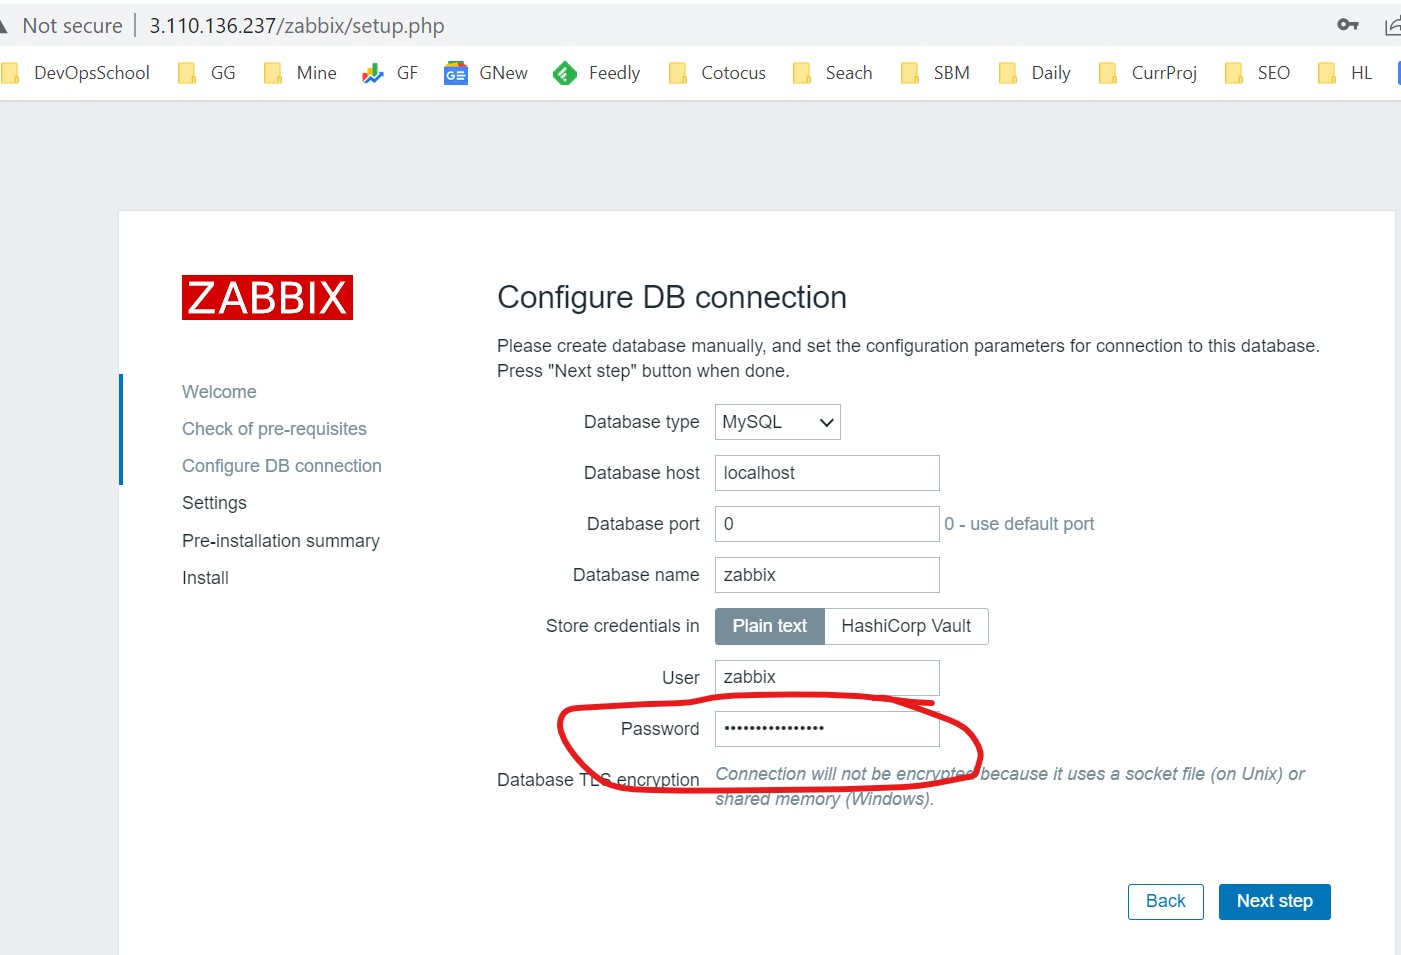
Step 4 – Configure the database for Zabbix server
Edit file /etc/zabbix/zabbix_server.conf
DBPassword=DevOpsSchool$123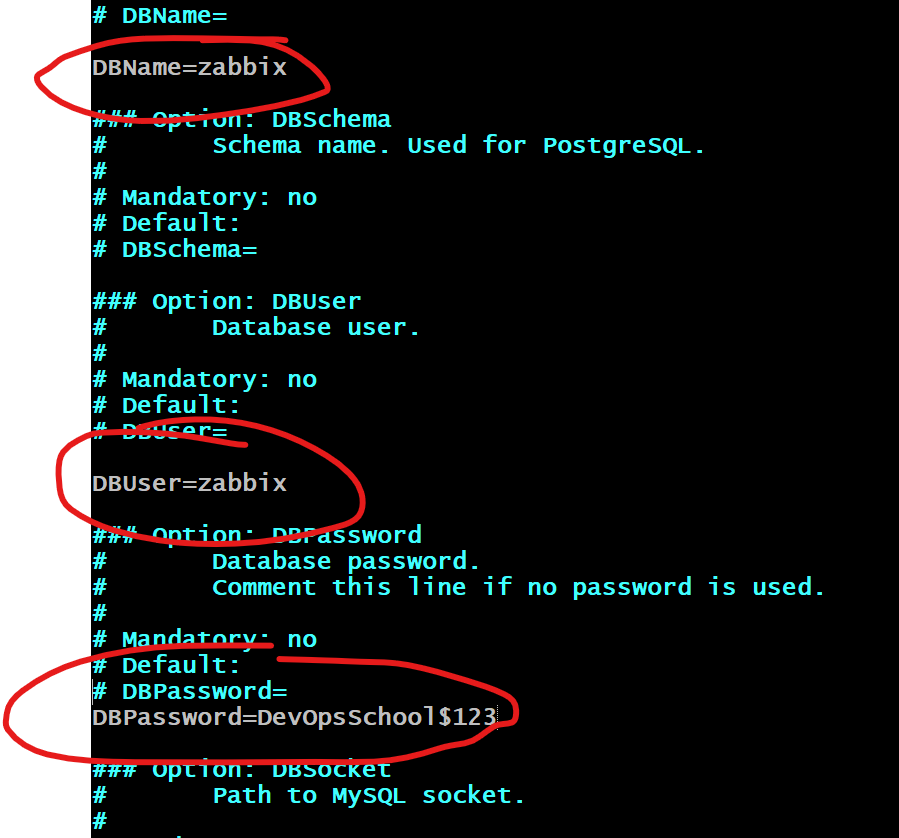
Step 5 – Start Zabbix server and agent processes
Start Zabbix server and agent processes and make it start at system boot.
# systemctl restart zabbix-server zabbix-agent apache2
# systemctl enable zabbix-server zabbix-agent apache2
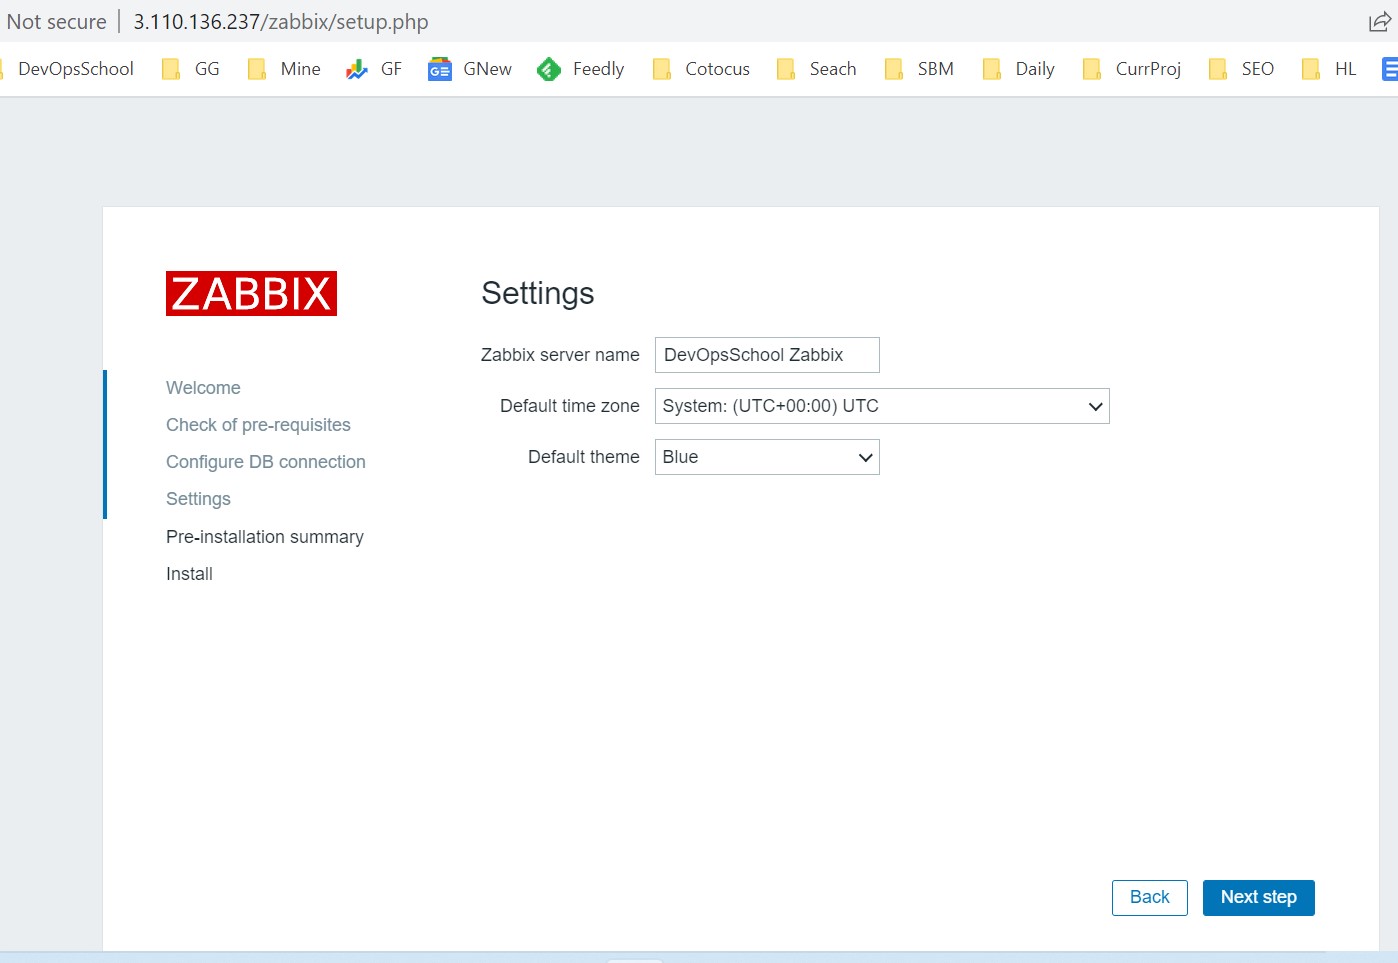
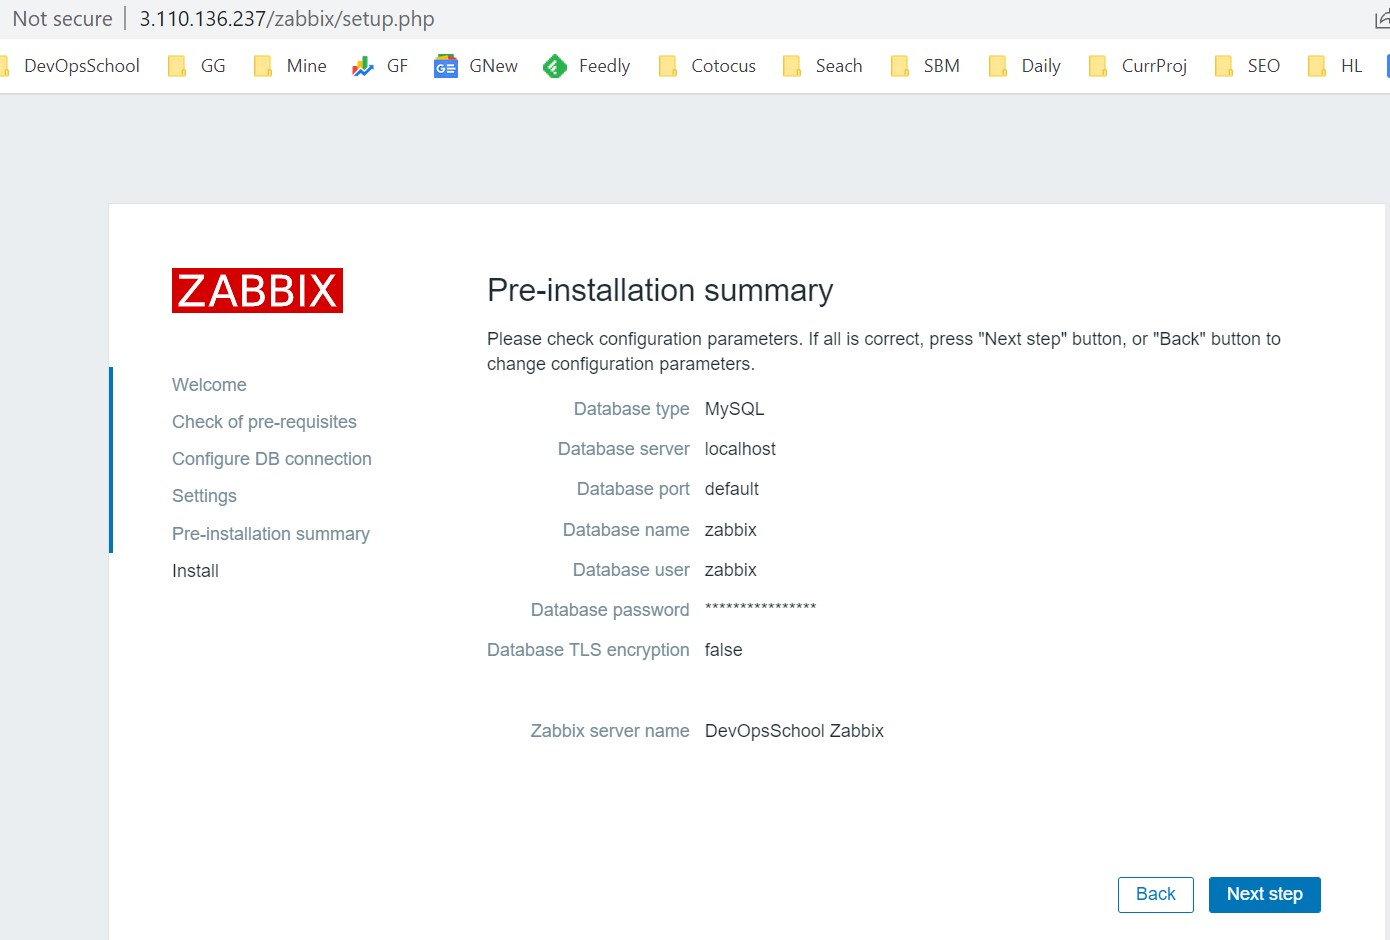
# systemctl status zabbix-server zabbix-agent apache2Code language: PHP (php)Step 6 – Configure Zabbix frontend
Connect to your newly installed Zabbix frontend: http://server_ip_or_name/zabbix
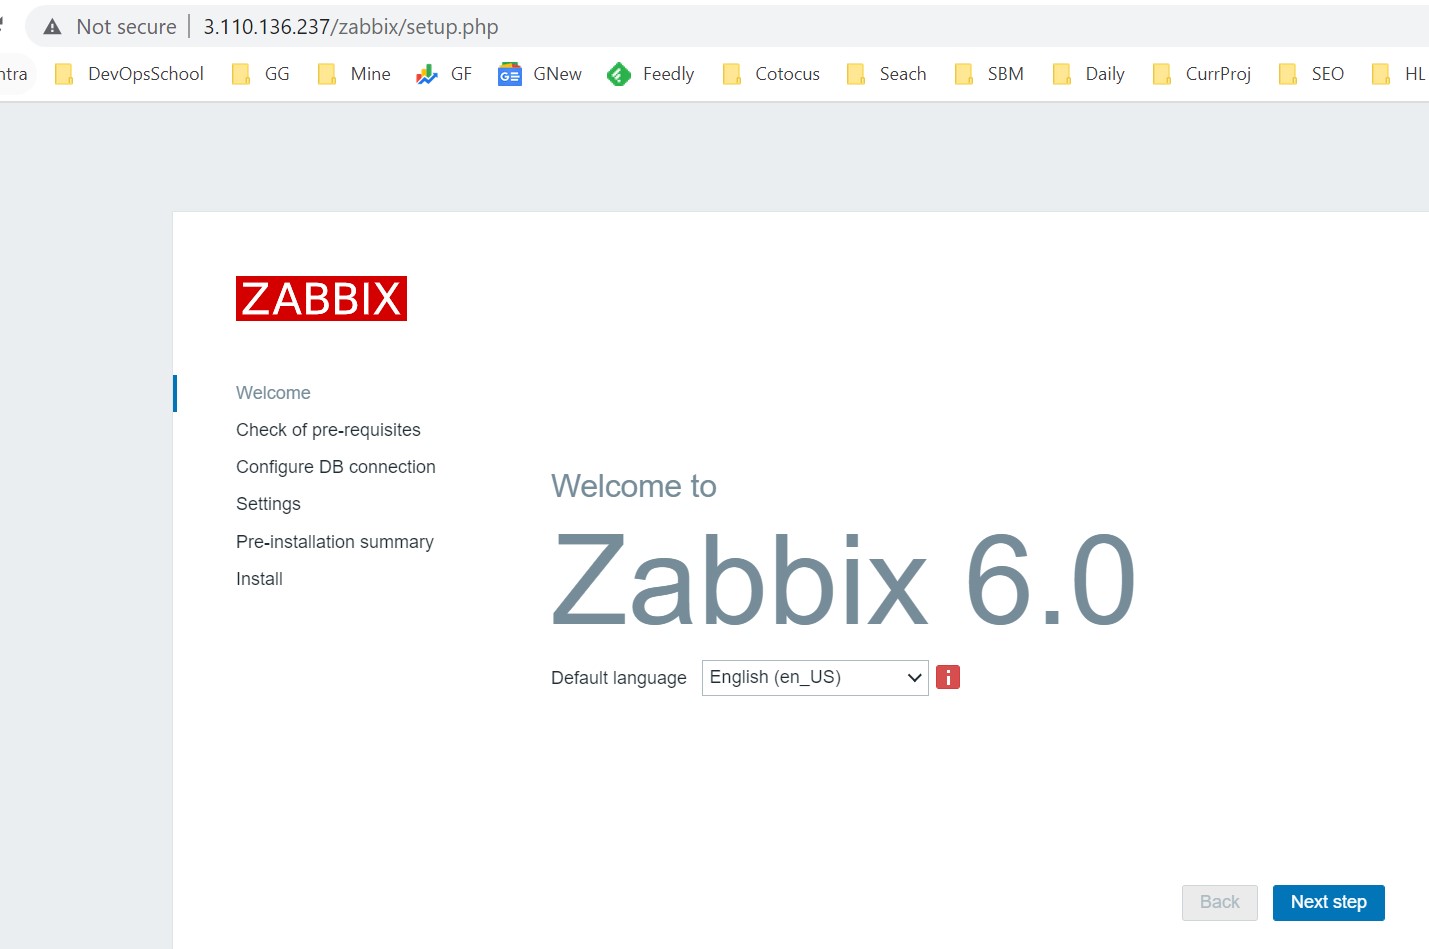
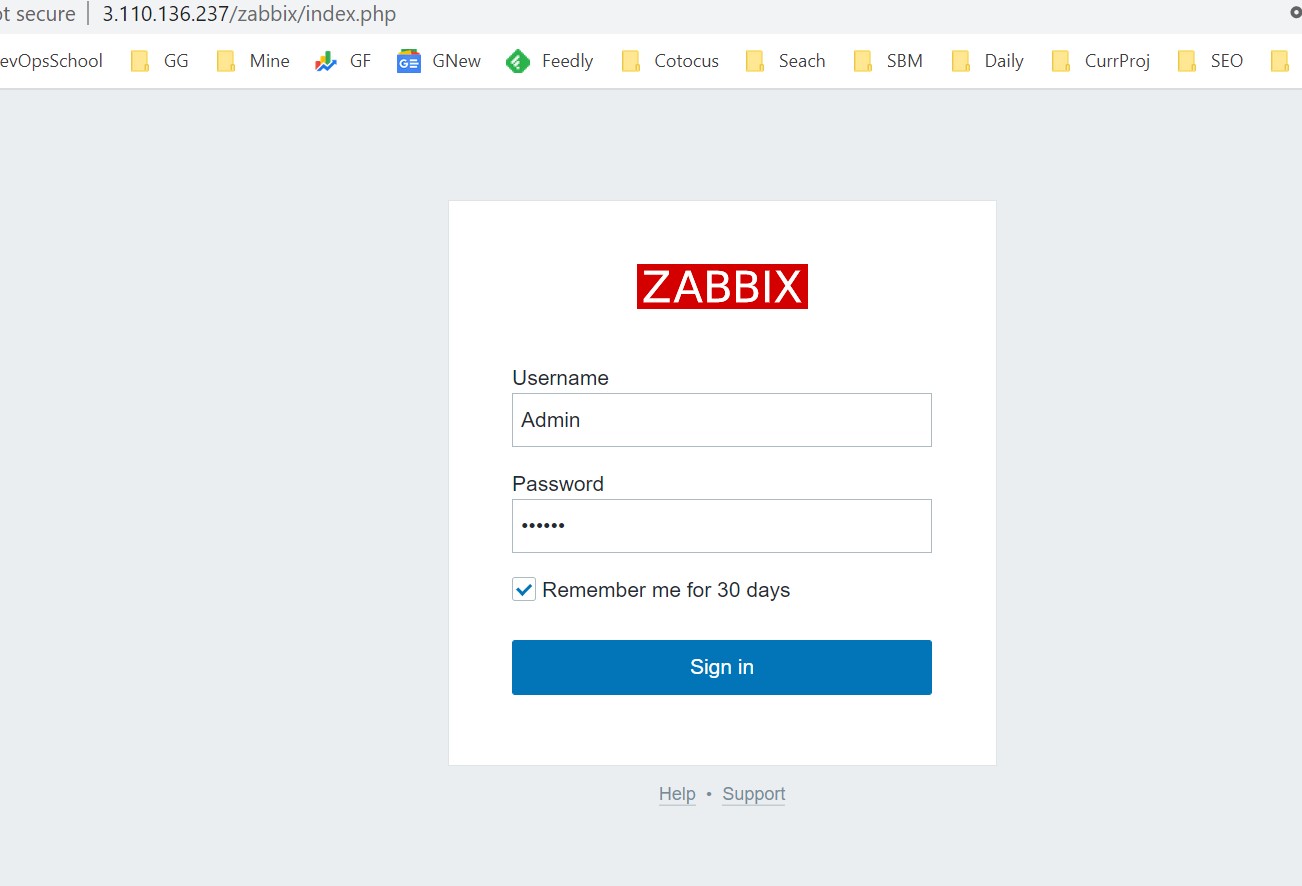
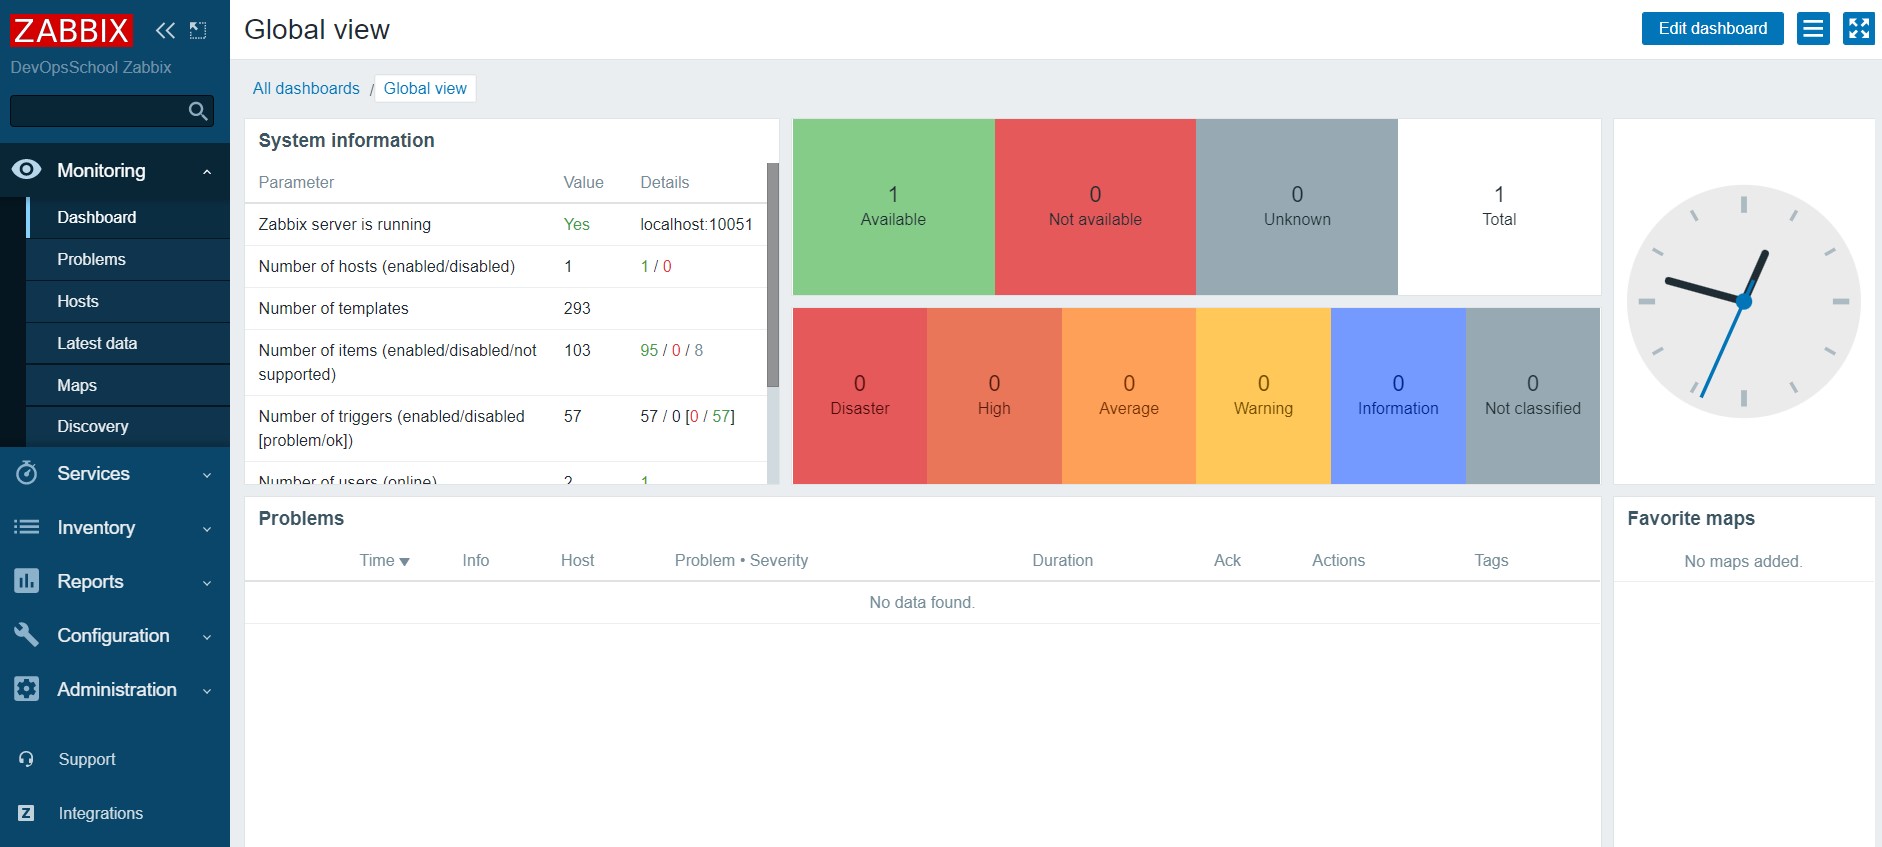
Step 7 – Start using Zabbix
This is the Zabbix welcome screen. Enter the user name – “Admin” with password – “zabbix” to log in as a Zabbix superuser. Access to Configuration and Administration menus will be granted.
I’m a DevOps/SRE/DevSecOps/Cloud Expert passionate about sharing knowledge and experiences. I am working at Cotocus. I blog tech insights at DevOps School, travel stories at Holiday Landmark, stock market tips at Stocks Mantra, health and fitness guidance at My Medic Plus, product reviews at I reviewed , and SEO strategies at Wizbrand.
Do you want to learn Quantum Computing?
Please find my social handles as below;
Rajesh Kumar Personal Website
Rajesh Kumar at YOUTUBE
Rajesh Kumar at INSTAGRAM
Rajesh Kumar at X
Rajesh Kumar at FACEBOOK
Rajesh Kumar at LINKEDIN
Rajesh Kumar at PINTEREST
Rajesh Kumar at QUORA
Rajesh Kumar at WIZBRAND
